This post may contain affiliate links for your convenience. If you click on the link and purchase the item, A Personal Organizer, LLC. may receive a small commission at no extra cost to you.
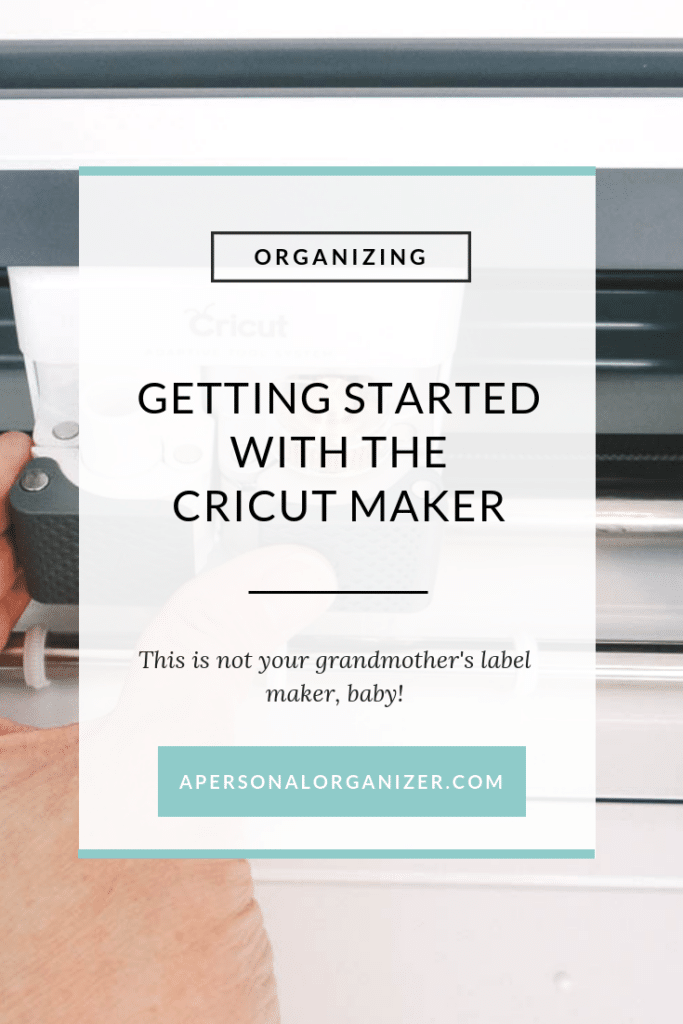
How To Use The Cricut Maker – Beginner’s Guide
This is a sponsored post written by me on behalf of Cricut. The opinions and text are mine.
I want to introduce you all to a great new item I have discovered for my home organizing projects: The Cricut Maker.
Do you know those Instagram accounts of professional organizers, sharing gorgeous images of nicely organized pantries, playrooms, and cabinets? Have you noticed how they are not using your “grandmother’s label machine” anymore?
Did you notice the beautiful, handwritten, seamless labeling they do? And how do those labels really elevate the result of the organizing project and ultimately the value they bring to their clients?
Well, my friend, it seems like as many things evolve, so did the labeling step of the organizing process! And since I love beautiful things AND love to pamper my clients, I decided I was going to learn how to use beautiful, seamless, handwritten, vinyl labels.
How I Learned About Cricut
A few weeks ago I was working with a client and organizing her entire house, including all the mudroom cabinets and the pantry.
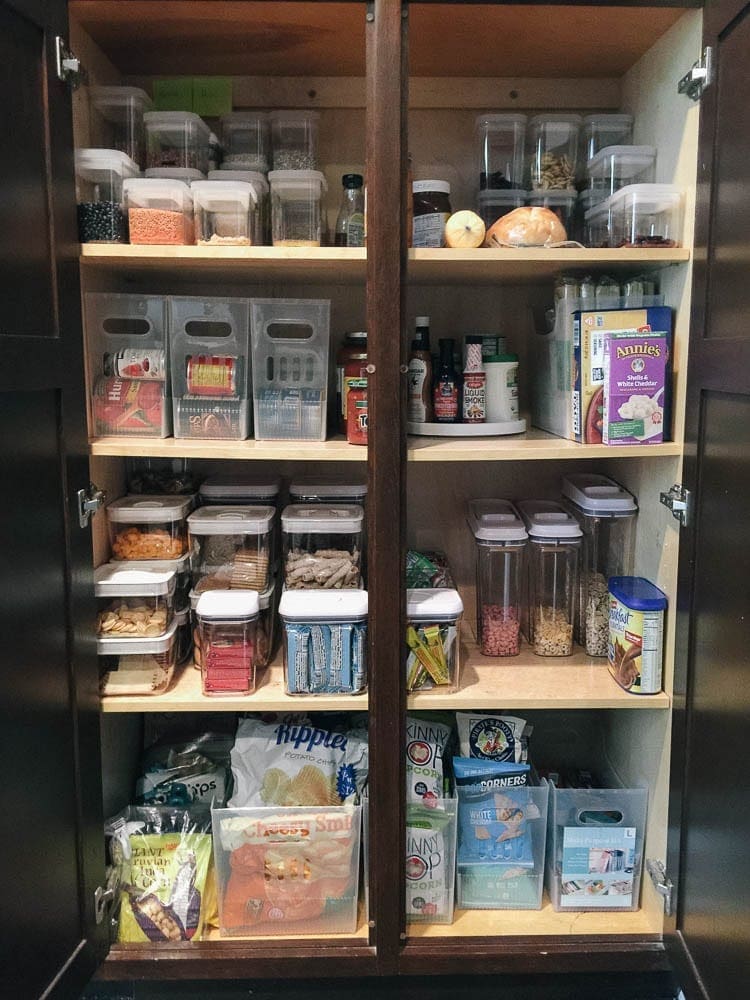
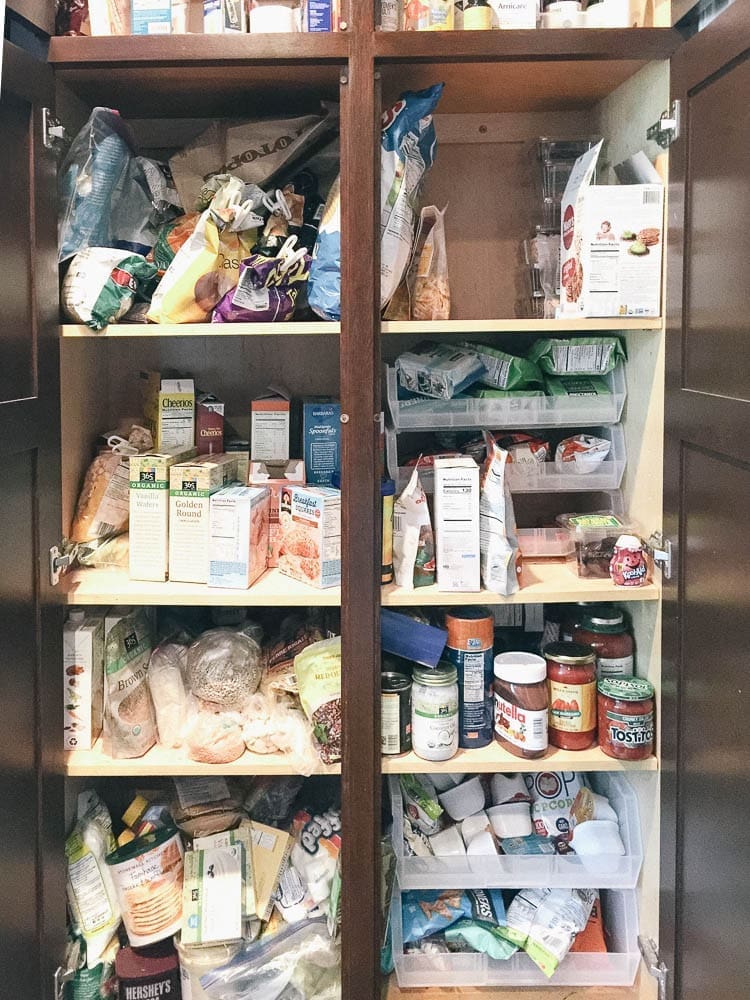
The project was going well and after purging, sorting, measuring, and deciding on what food storage bins we were going to use, I decanted all food items from her pantry and placed them back in the cabinet. All I needed to do next was to label the containers as we agreed not to label the shelves.
But I was hooked and wanted to install the “nice” labels!
Being in need of some attractive labeling, I searched online and found that they were nearly $1 per label! For this particular organizing project, I would need many, many labels.
I didn’t want to spend that much on labels, didn’t want my client to have one more expense -I don’t charge my clients for labeling the old-fashion way- but I wanted them to look great for my super sweet client, so I was on the hunt for another solution.
Looking for a more economical way to achieve the labeling look I wanted, I considered investing in a Cricut machine. But, because I am not a DIY type of person, I did not buy one.
I was worried that I was going to make a large investment and then not be able to use it. Not to mention that I’d have to find a spot in my home office to store the machine, supplies, etc. After all, I’m an organizer and I don’t buy anything without considering where it will live once I bring it into my home.
The Organizing Gods Were Looking Upon Me
Enter, Fate.
A week later the Circuit company contacted me and asked me if I would be interested in joining the Cricut Influencer team, trying their machine and introducing my readers to what an amazing tool it is for those who want to create beautiful labels for organizing projects.
Of course, I said yes!
And I am so glad that I did. Today I’ll show you how simple the Circuit Maker is to set up and then on my next post I’ll show you how to connect with Design Space, the online editing tool, so you can start making gorgeous labels -and so much more- in no time.
Even if you are not a DIY person (like me!), you will love using this machine for your labeling and organizing projects. Whether you are organizing your home or working as a professional organizer, the Cricut Maker offers you endless possibilities not only to help you organize your family but also to create beautiful items for your personal use or to gift friends.
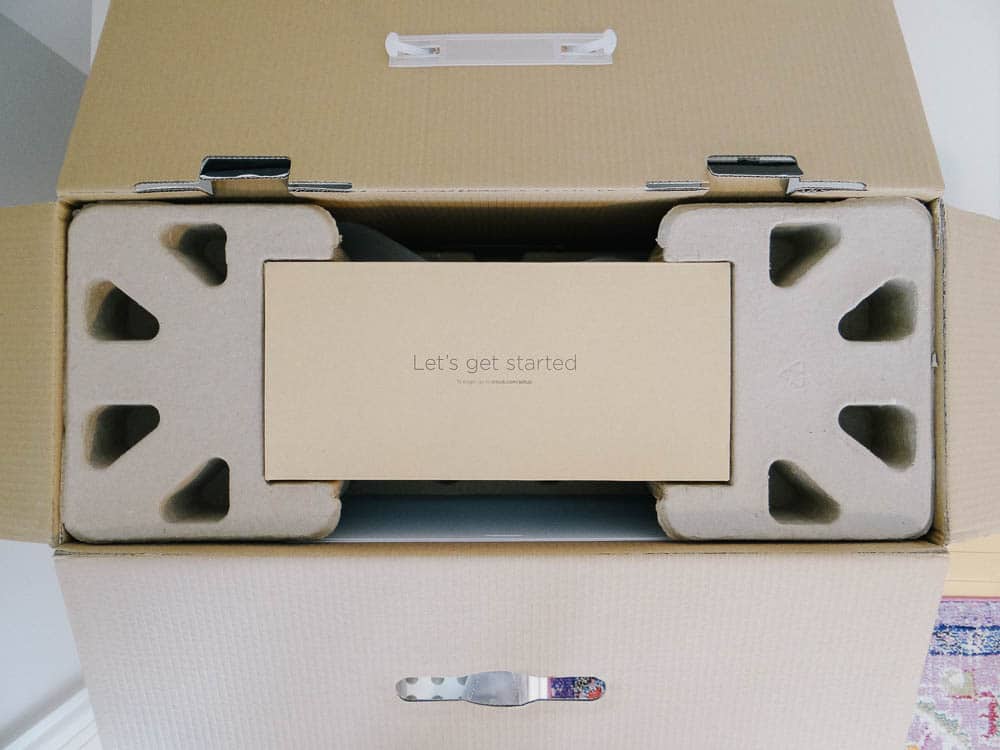
Let’s get started!
Unboxing The Cricut Maker And Setting It Up
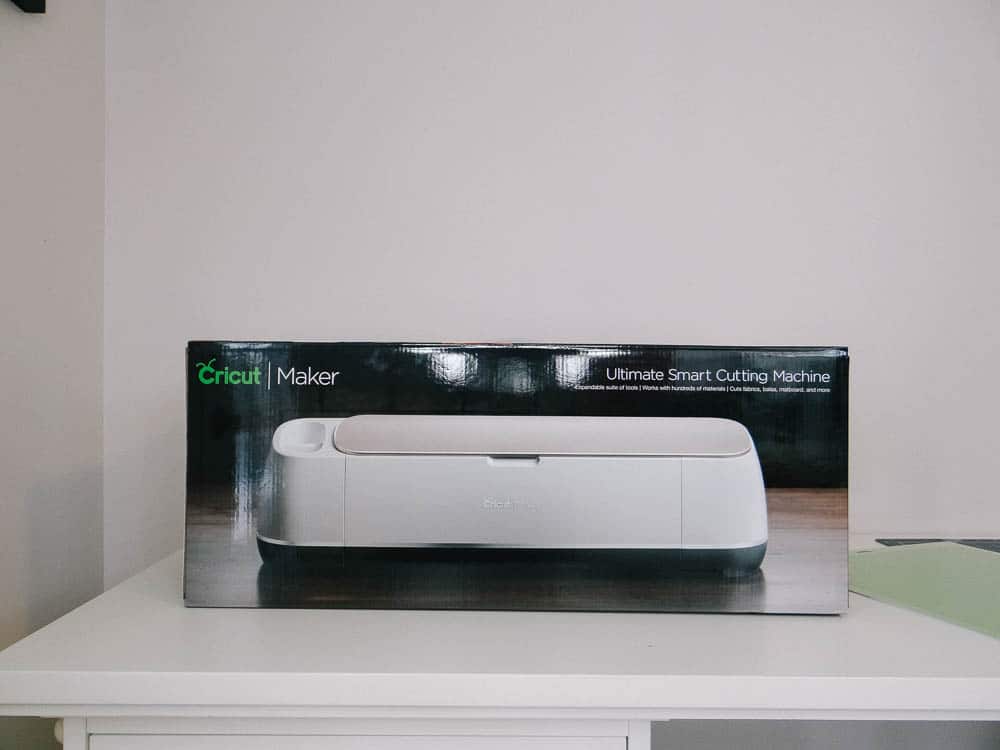
The Cricut Maker comes neatly packed in one box and opening it really feels like opening gifts on Christmas!
Every step of the process invites you to be creative and start a project.
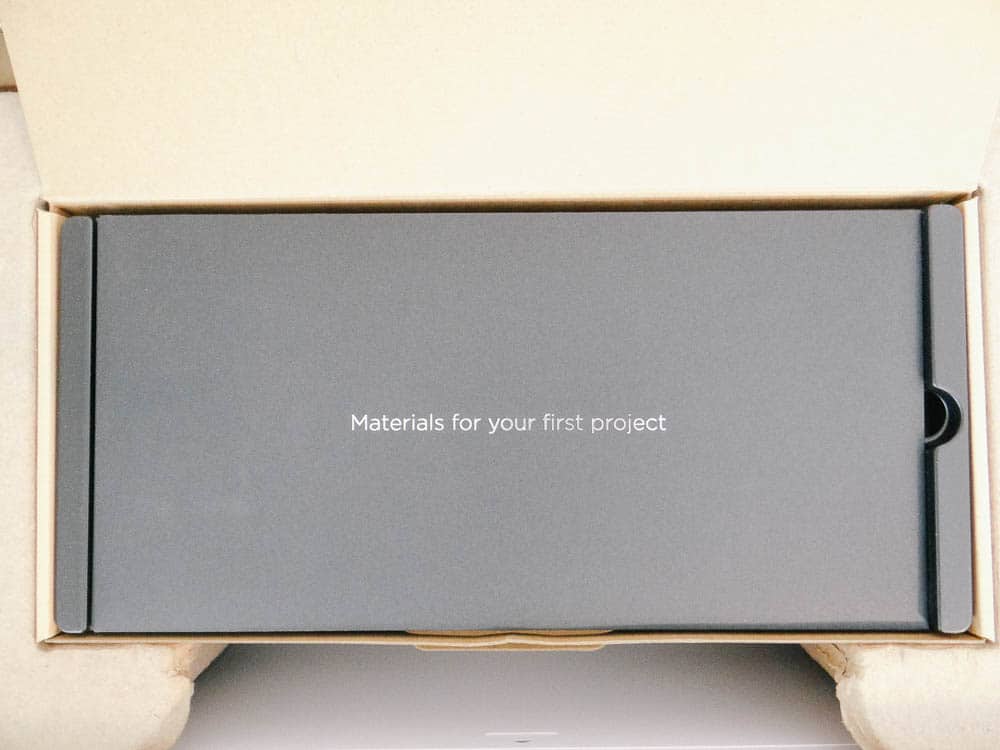
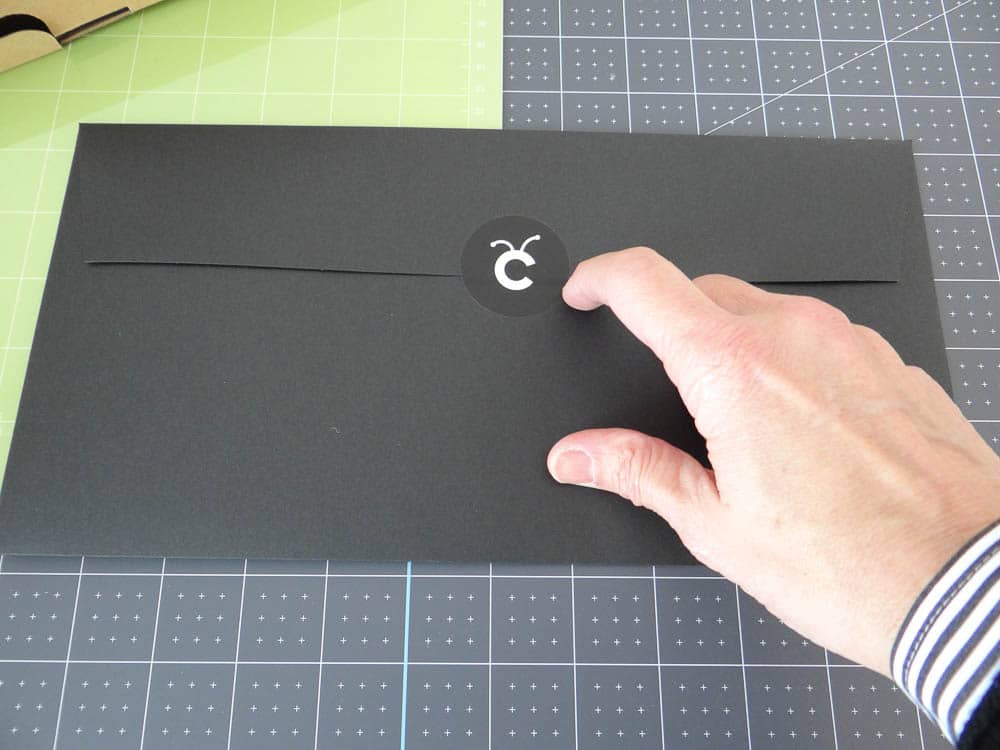
Your First Cricut Maker Project
Each box comes with materials for your very first project.
So even if you’re not ready to invest in supplies, you’ll have something to get your hands on and try your machine.
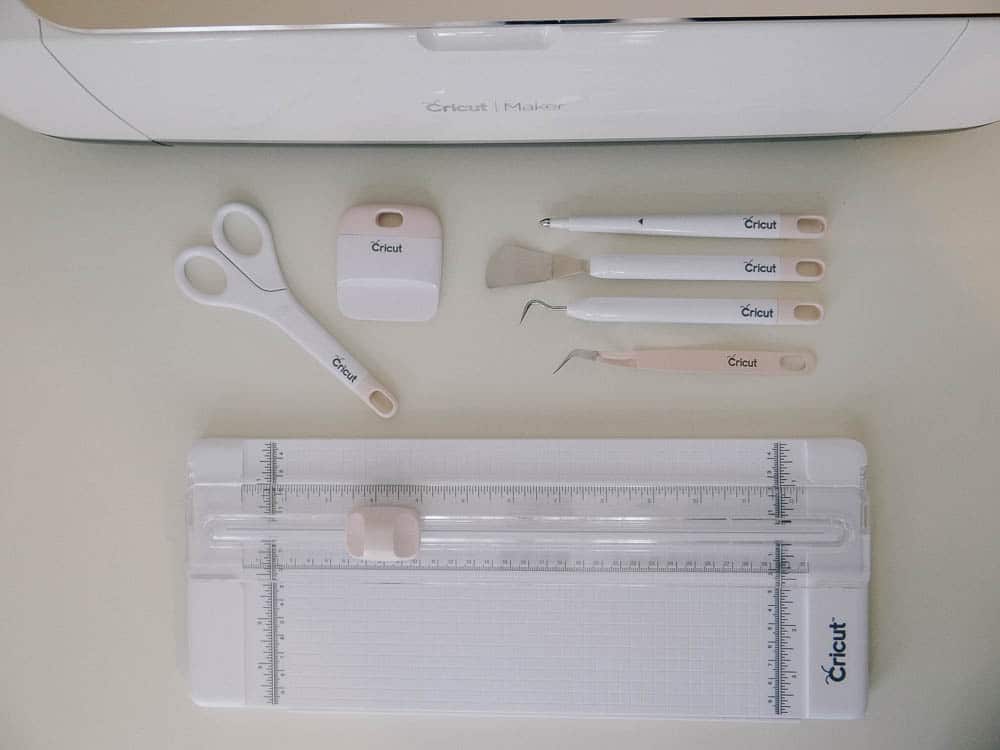
The Contents Of Your Cricut Maker Box
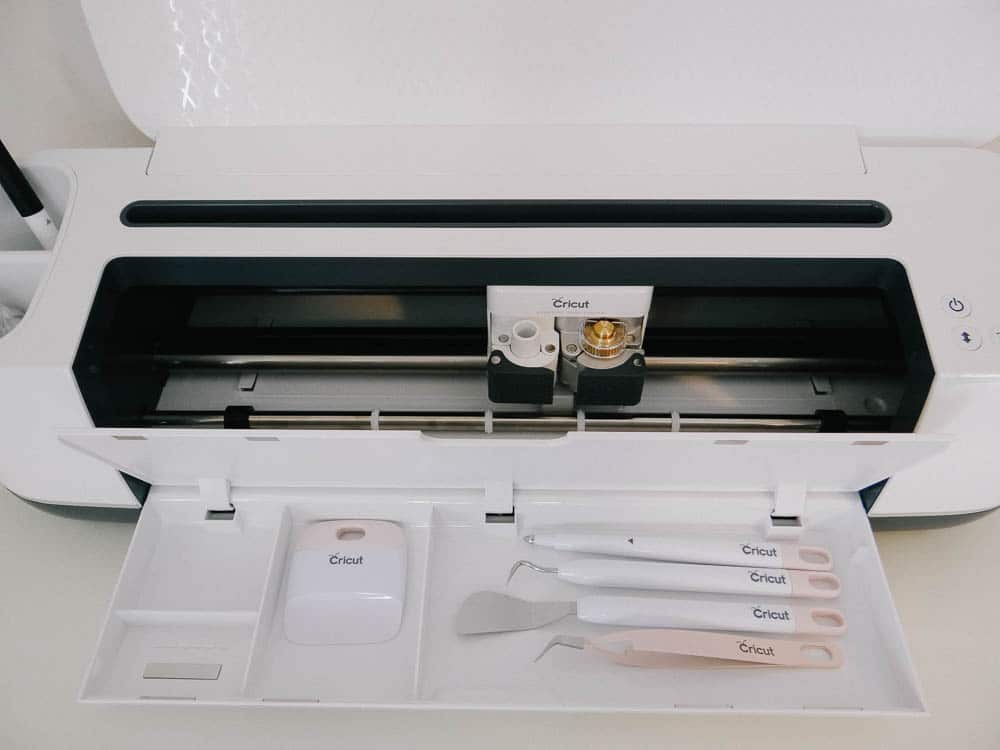
Inside the box you will find:
- The machine itself,
- Your first project kit
- Cables – to connect to power and to connect your Cricut Maker to your computer (yes, you need a computer to work on a project),
- A rotary blade attachment,
- A cap for the rotary blade,
- A pen,
- And two mats

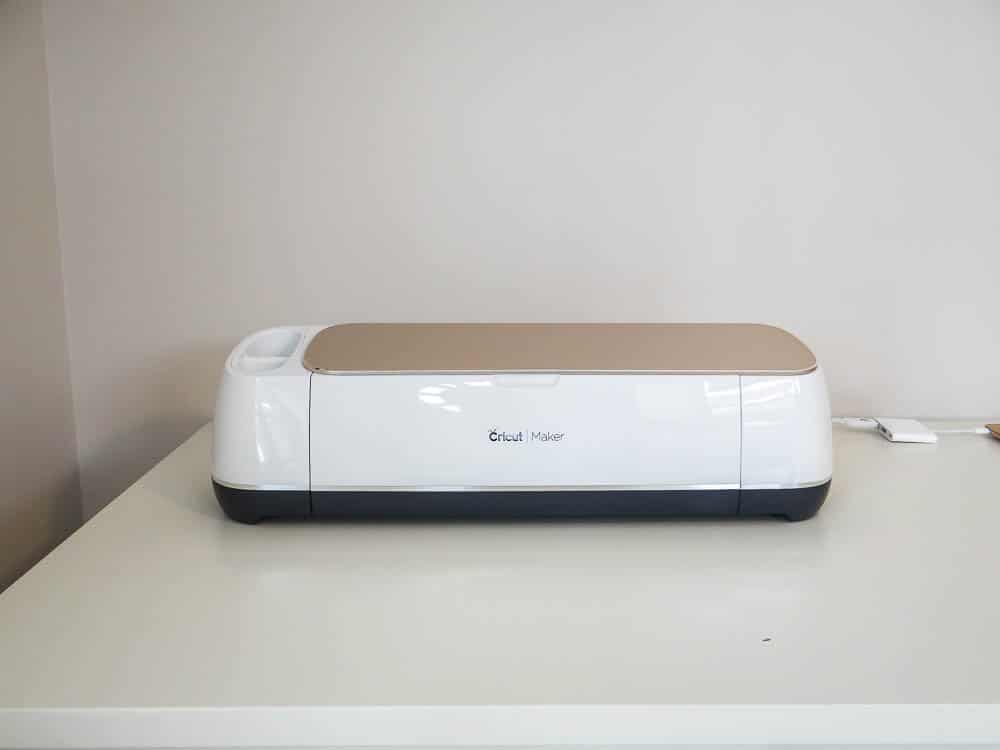
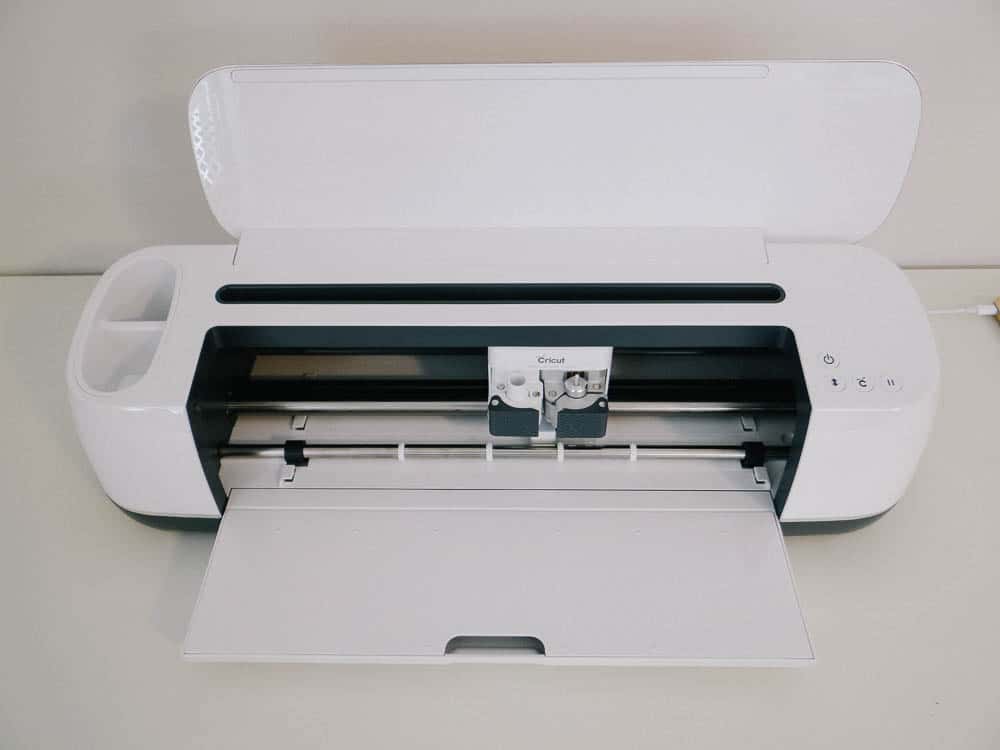
A Svelty Machine
Cricut Maker has a beautiful, sleek design and it’s something that looks nice in your home office or craft space and you won’t have to “hide”.
Unlike my printer, which is black, big, and bulky, the Maker is lean, curvy, and elegant.
Once you remove the Cricut Maker out of the box, connect the two cables that came with it.
First, place the power cord and connect it to power. I recommend using a power strip to prevent power surges from burning your machine.
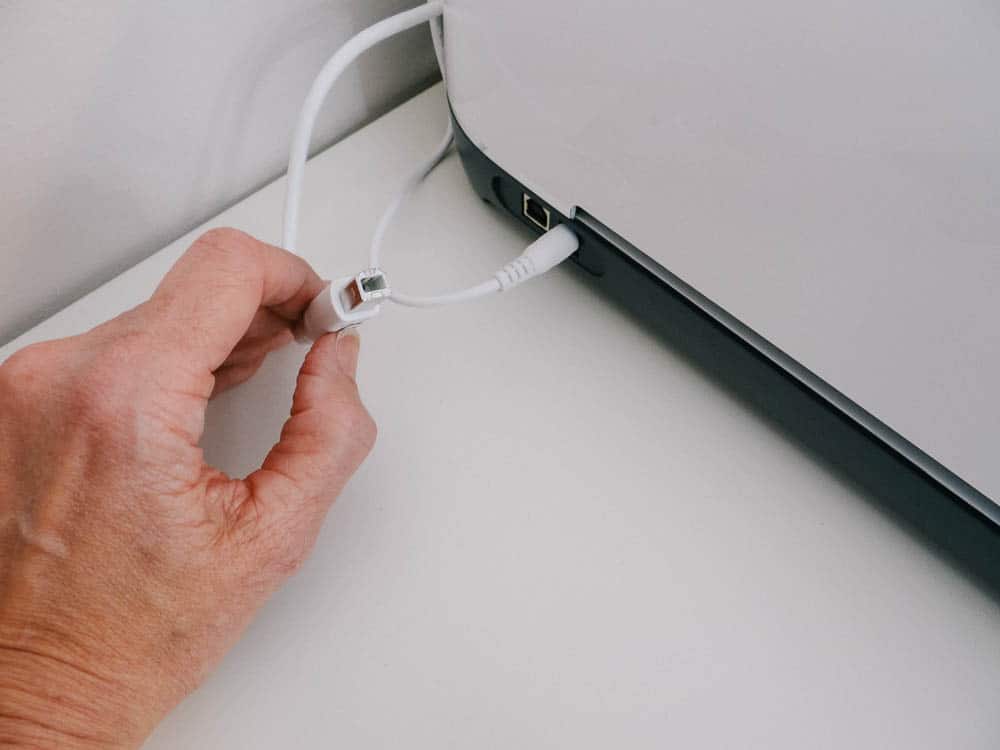
Next, connect it to a computer. Plug the square cable to the back of the machine and then the USB end to a USB port.
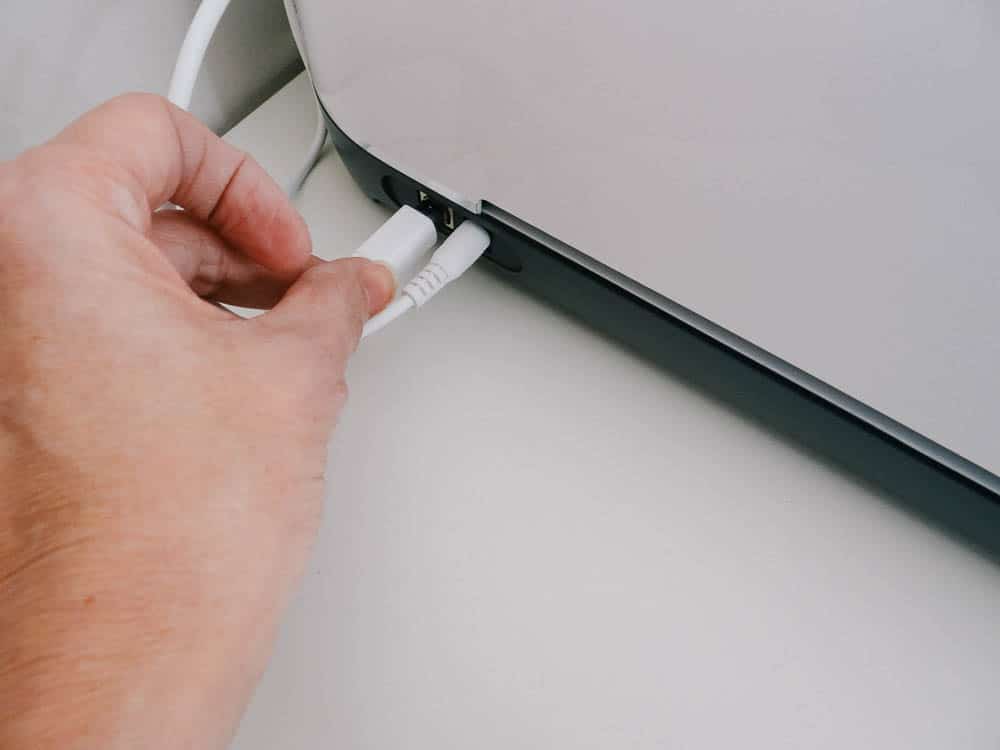
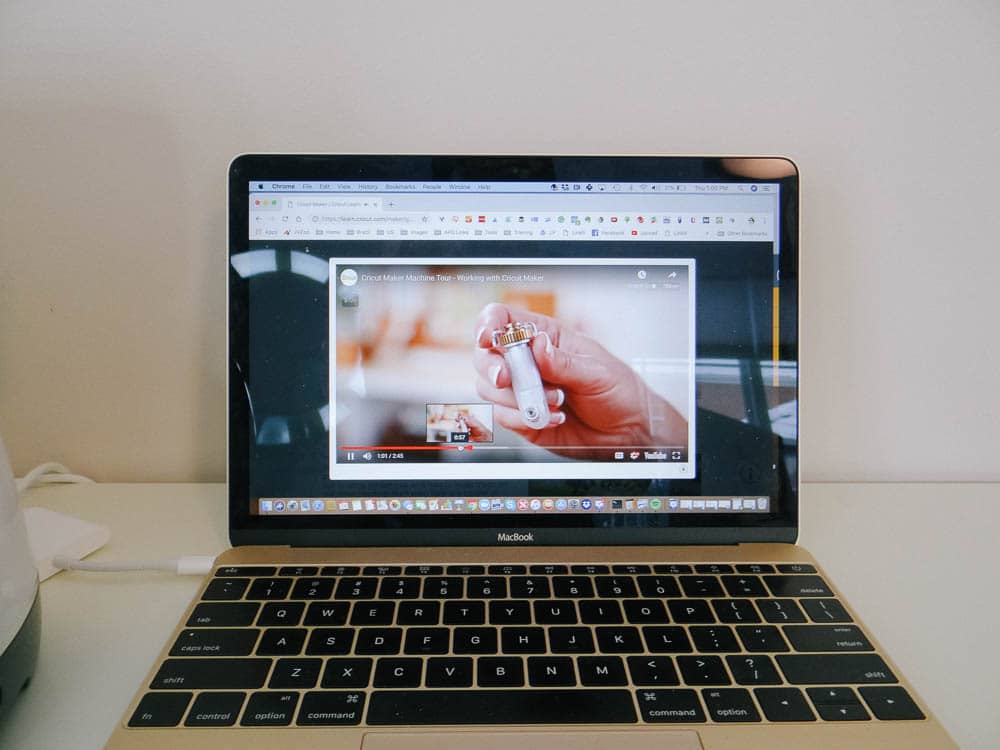
I used my laptop to connect to the Cricut Maker as we will have to connect to Design Space, the online design tool that will tell your machine what to do according to your design choices.
Installing The Cricut Maker Rotary Blade
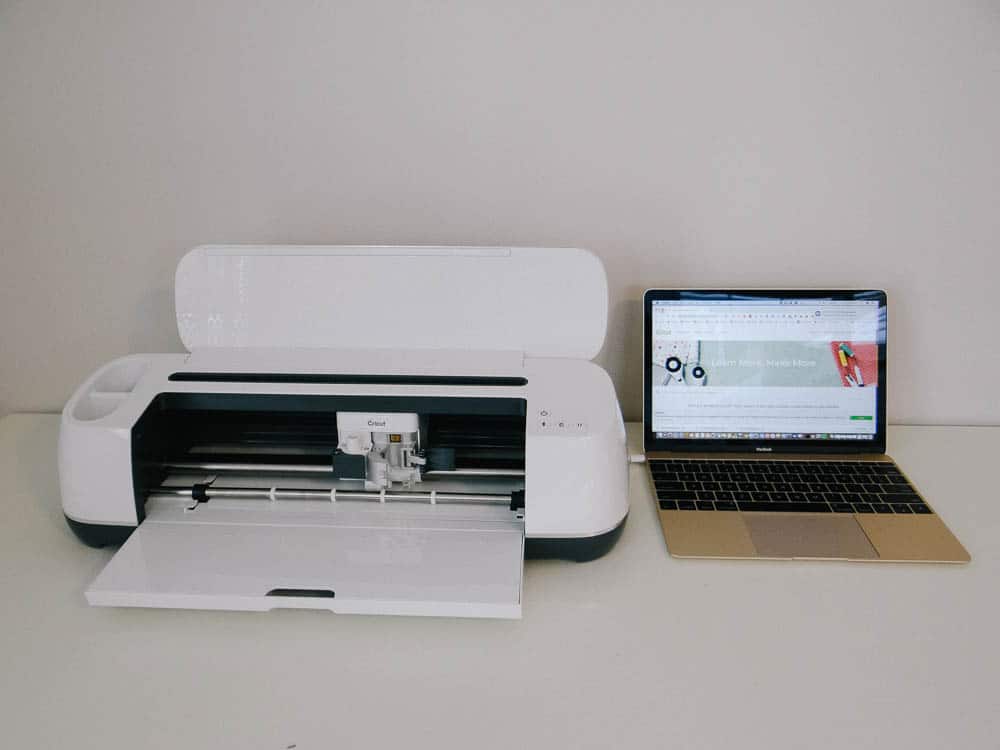
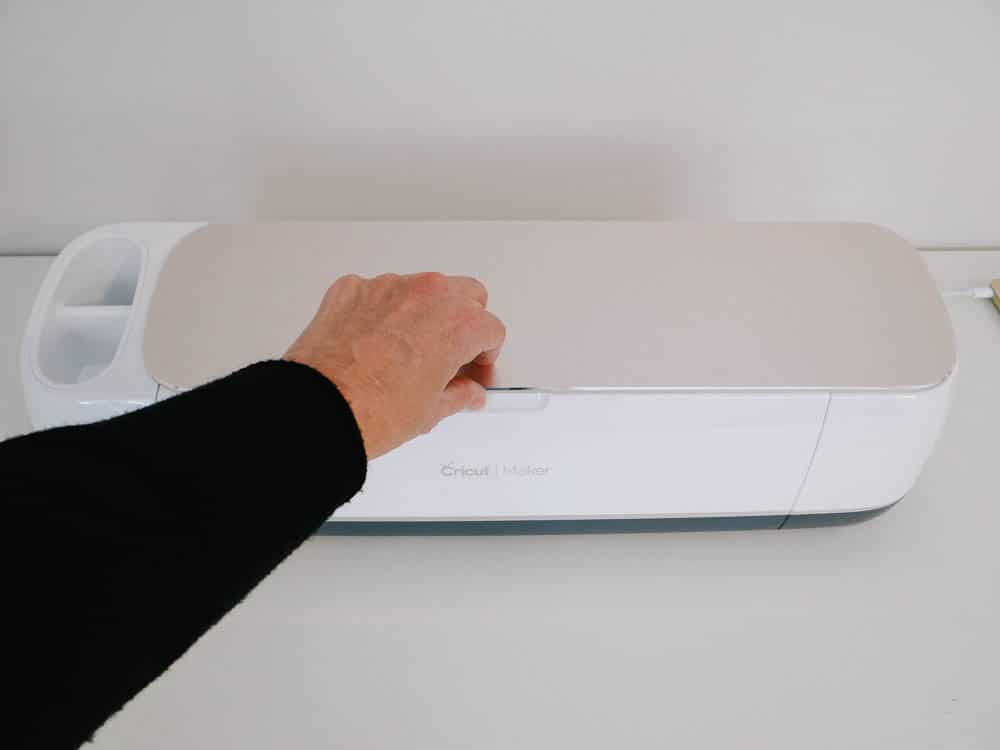
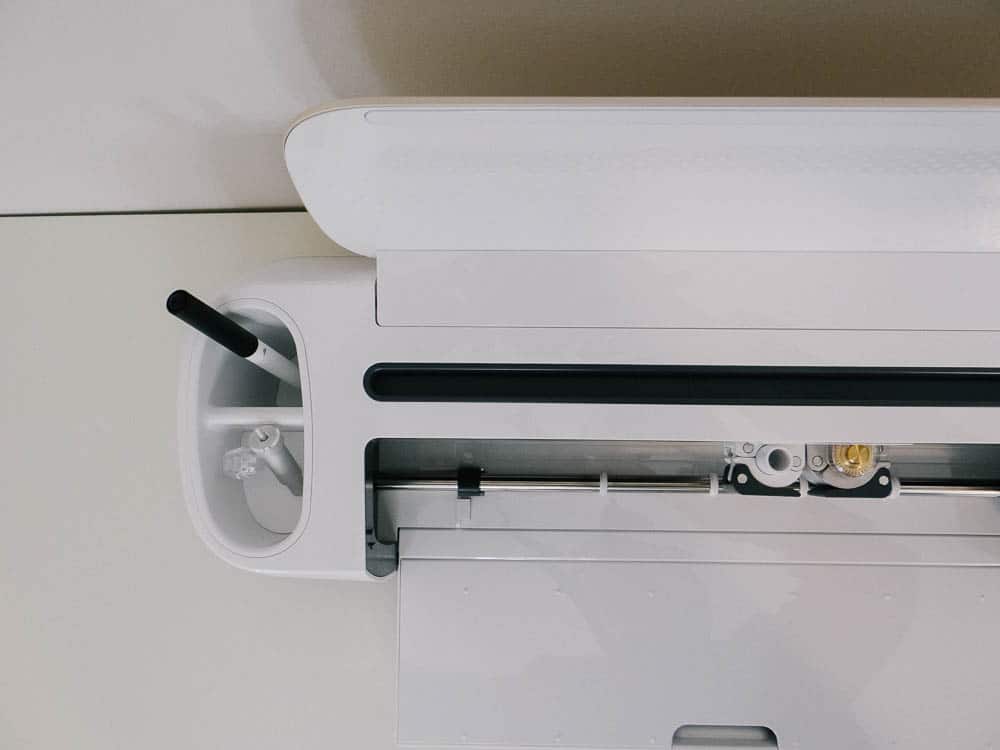
Once your machine is connected to power, lift the top by gently pulling it up.
Ta daaa! As you do it, the side of your Cricut Maker will gently open. It’s a sexy machine, I’m telling ya!
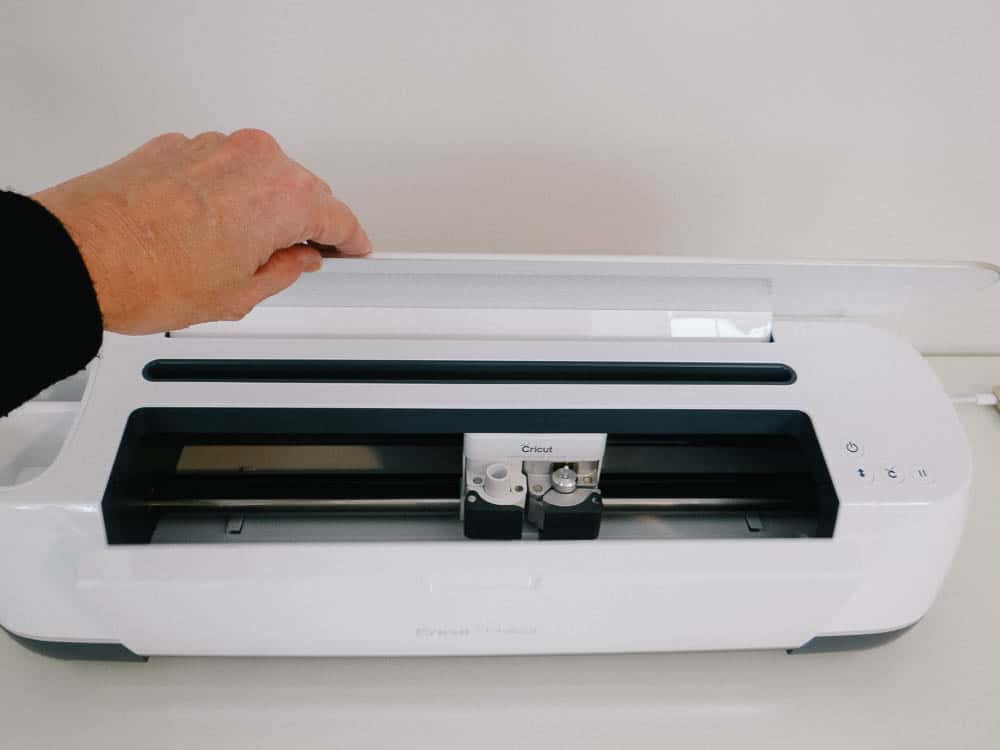
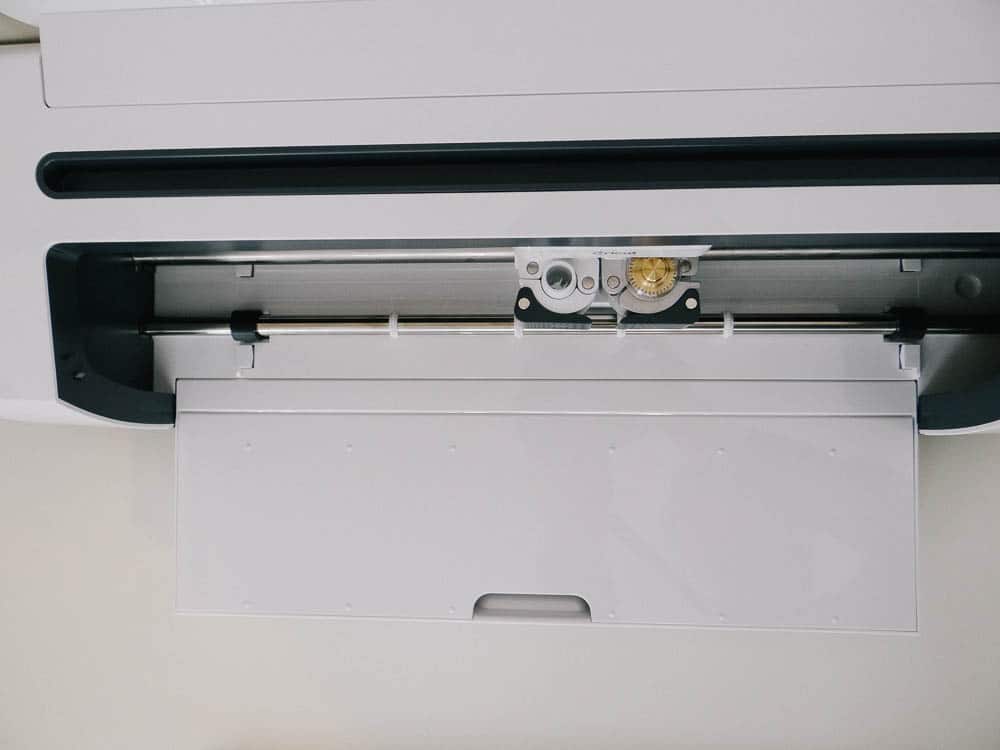
Now that your machine is open, let’s install the rotary blade that came with it. Don’t be scared! It’s actually quite simple.
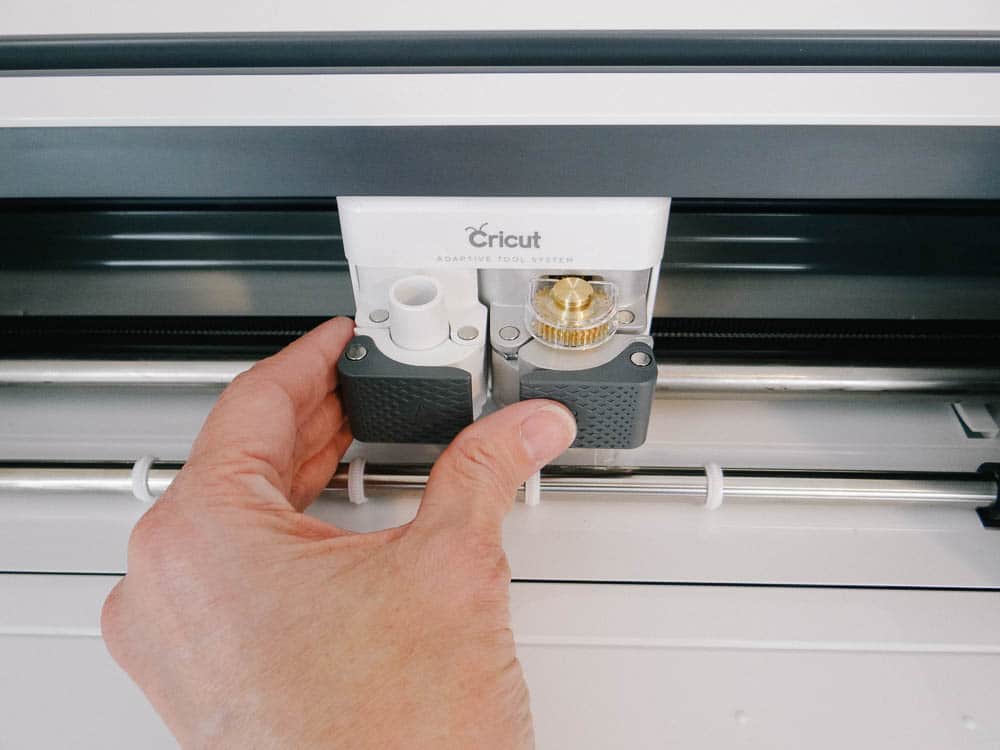
Open port B -the one to your right- and remove the round part that’s there.
With the spot open and empty, grab the rotary blade and insert it on that spot.
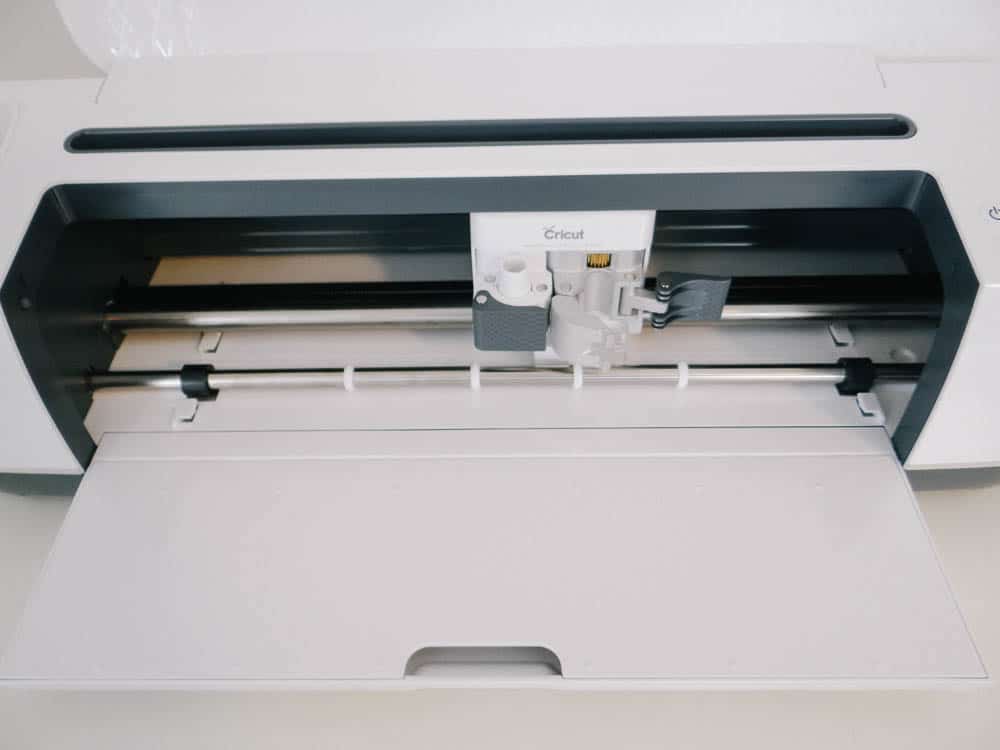
The rotary blade has a gold top with an acrylic cover and it will sit and fit just right.

Next, close the metal bracket and then
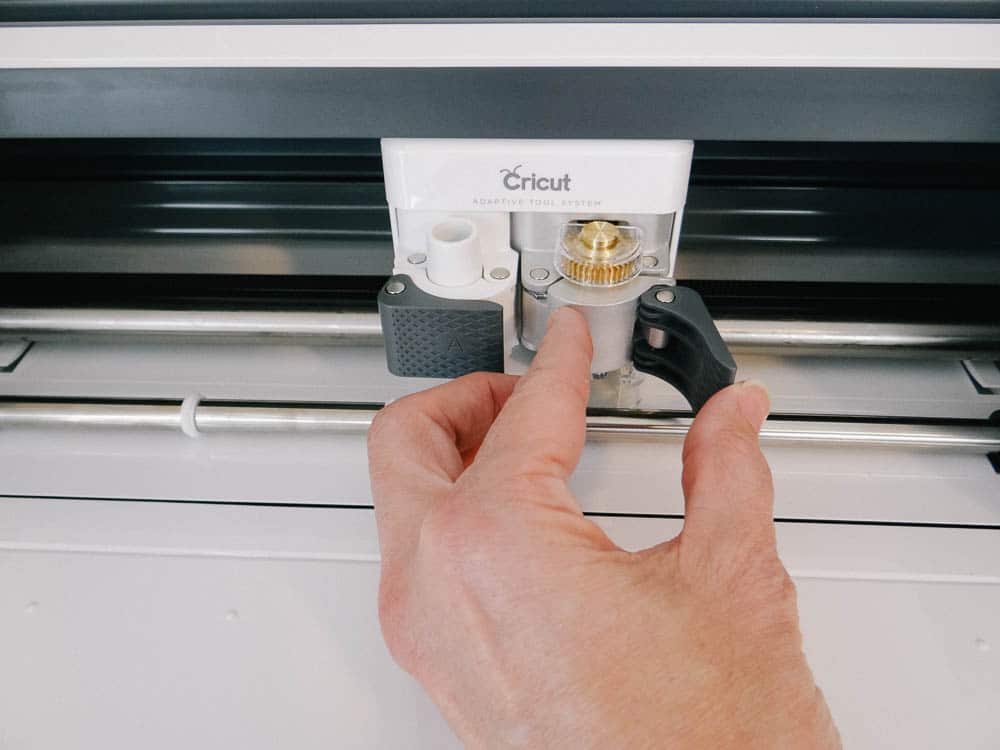
firmly close the gray, plastic bracket.
Voilá! Your rotary blade is installed and ready to go.
If you ever get stuck in this process, don’t fret. The Cricut Maker has an amazing resource page with detailed videos to help you every step of the way.
The Cricut Maker Is A Professional Organizer’s Dream
You know how I love an organized space and how I’m always looking for smart storage and organizing solutions, so when I realized that the Cricut Maker actually *comes* with its own storage, I was totally giddy!
I mean, I have organized many craft rooms and one thing you know you’ll find in crafts rooms are the tiny little pieces that need a home!
Well, the Cricut Maker designers knew better and designed the machine to hold all your accessories. Because, you know… there are some cute gadgets that accompany this baby!
The machine also has a little cup to the left to hold your pens -on the deep side- and your blades -on the shallow side.
And here it is. As you open the lid, this neat storage space shows up.
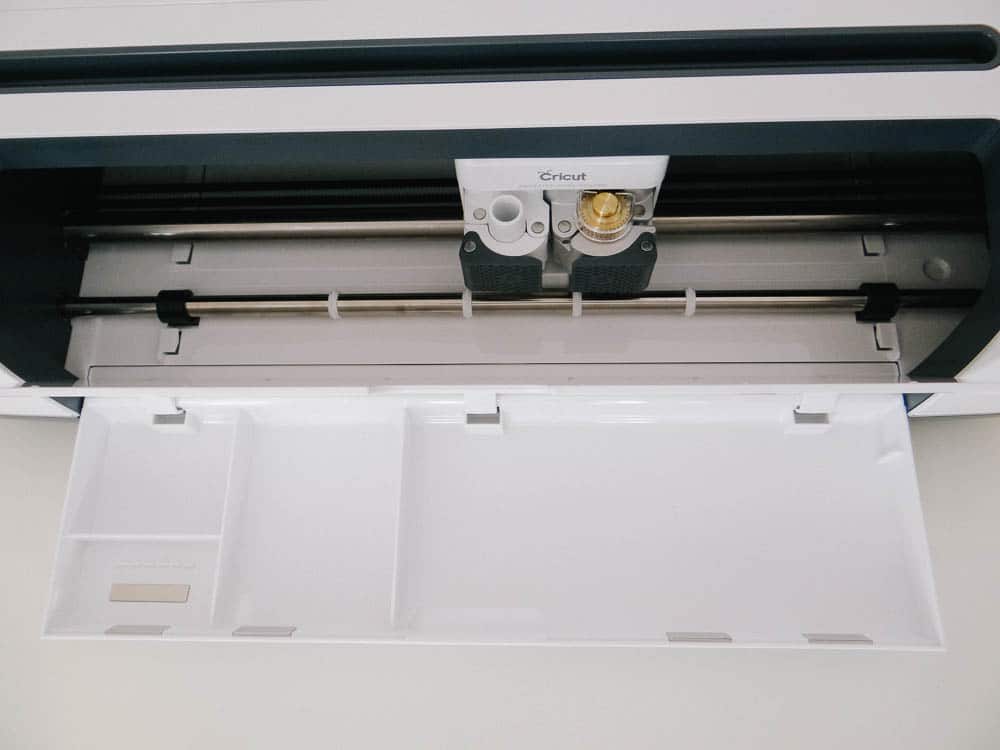
In it, you can place the tools and gadgets that will help you create your beautiful designs -and my cute labels!
Now that the machine is set up, we are ready to start our design which I will show you tomorrow, in my next post.
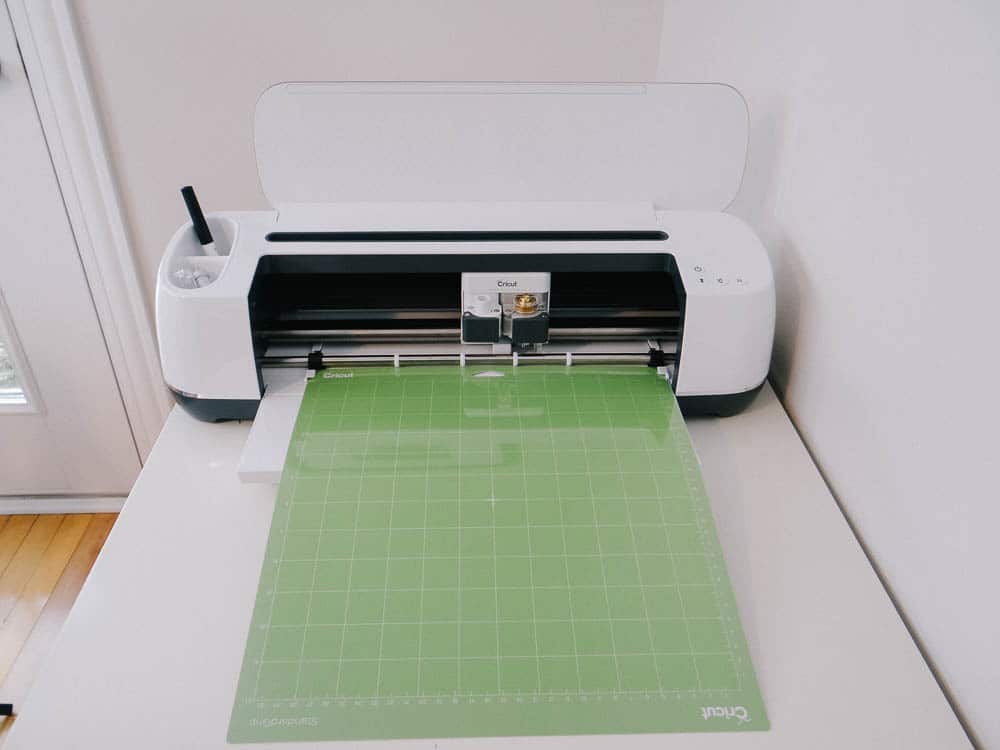
Where To Place Your Cricut Maker
When I received my Cricut Maker I had to create a home for it, as it wouldn’t fit on my (L-shaped) desk. So, I placed a straight desk in my office to hold the Cricut machine.
However, one important thing I learned today is that it needs at least 10 inches of clearance in the front and back of the machine which made me turn it sideways on my desk. This is not a big deal as I can always turn it around when not in use but consider it when you’re deciding where you’re going to place it.
So there you have it!
I hope you can see how easy it is to set up your Cricut Maker and get started with it. And if you’re dying to get your hands on your own Cricut Maker, Cricut is at Michaels in Canada and in the US, and coming soon to Walmart and Costco.
Next, I’ll be showing you how to open and work in the Design Space and we’re going to create our first vinyl label with the Cricut Maker.