This post may contain affiliate links for your convenience. If you click on the link and purchase the item, A Personal Organizer, LLC. may receive a small commission at no extra cost to you.
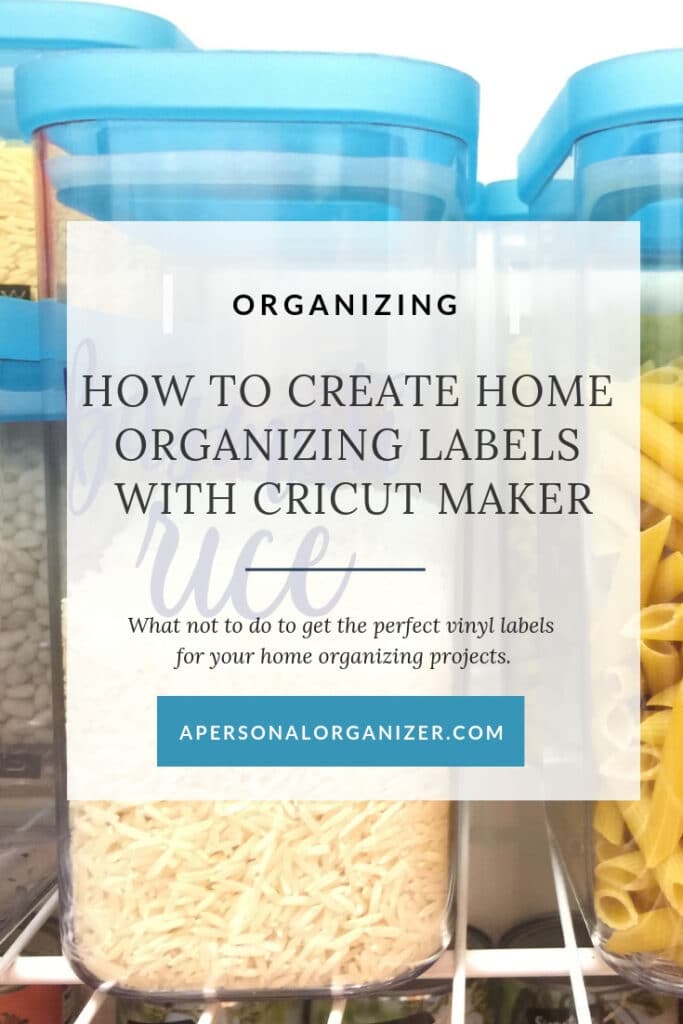
Learn How To Create Labels With Cricut
Do you want to make labels with Cricut, but it seems too complicated? Then, let me show how I made my organizing labels from scratch on this tutorial!
The last time I talked about the Cricut Maker, I showed you how a non-DIY person -like me- would unpack and set up the Cricut Maker machine. It was easy peasy; we all had to agree!
This time around, I wanted to learn how to create beautiful, home organizing vinyl labels to install in my kitchen. Let me tell you, it was not as straightforward as I thought it would be.
I am one of those geeky people who read manuals, watch tutorials, and then poke around until I figure things out. Still, I had to give more than one shot to learn to make these vinyl labels.
So, if you want to create beautiful, handwritten (or not) Vinyl labels for your home or to install at your organizing clients’ homes, I have your back! In this post, I’ll show you the step-by-step process of how to create, print, and apply these gorgeous labels!
This is a sponsored post written by me on behalf of Cricut. The opinions and text shared are mine.

Here are the steps you’ll have to take to get your hands on your labels:
First, set up your Cricut Maker machine, as I show you here.
You will need your machine to be hooked up to your computer to create your masterpiece and then print it.
Of course, I’m already looking forward to wireless printers and having one less cord to organize in my home office! 😉
1. Installing The Cricut Design Space On Your Computer
This was a very straightforward step, and all you had to do was click on a link and follow the process.
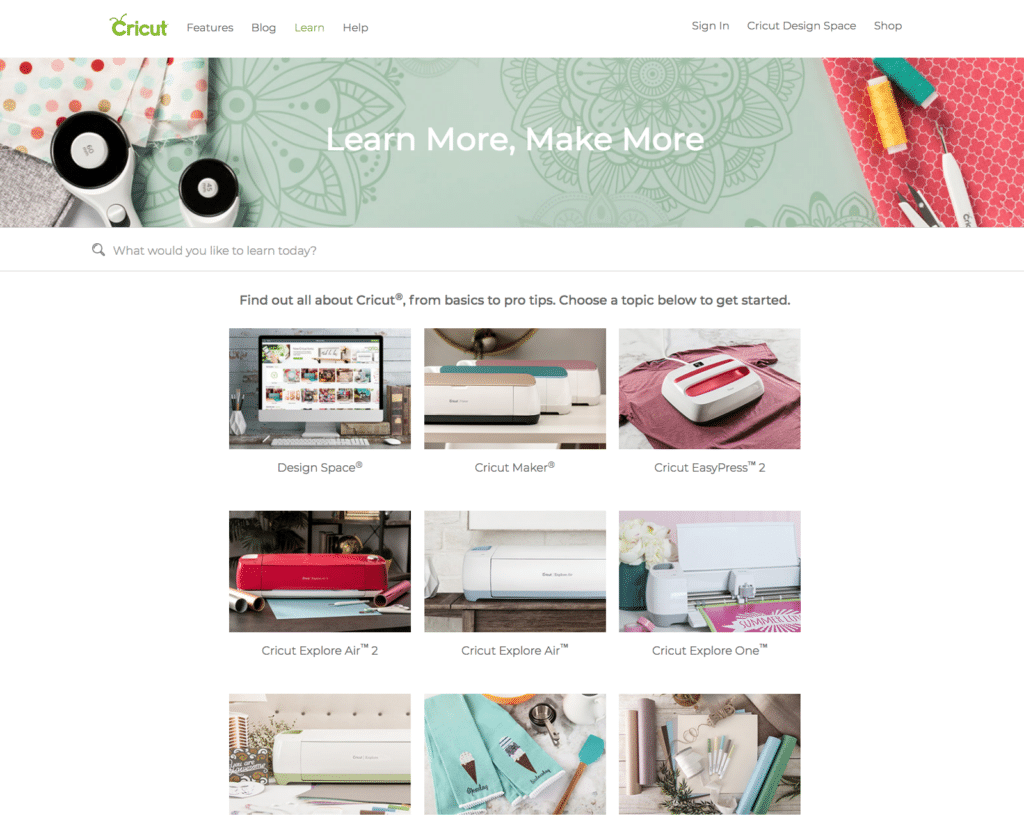
First, go to learn.cricut.com and click on Design Space.

PS: Bookmark this page as all the tutorials you want to watch will be here. #lifesaver
Download the program to your computer as you would with any other software and install it following the guided process on the installation wizard.
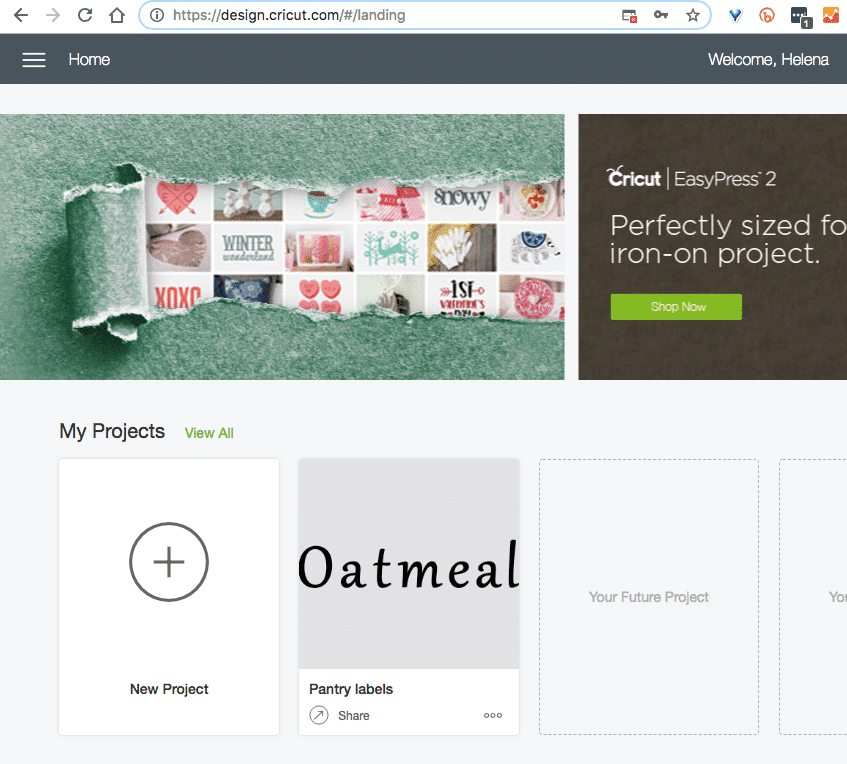
Once it’s installed, you’ll be invited to create a Cricut ID, and Cricut will set up your account inside Design Space. Easy Peasy!
Once you set up your account, this is what your Design Space “Home” area will look like.

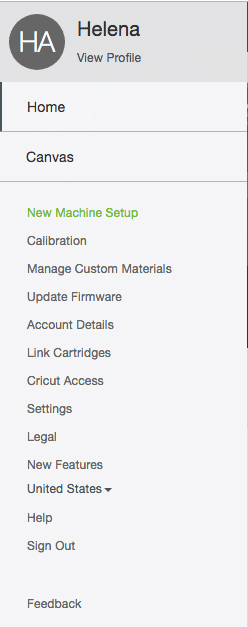
Next, let’s calibrate your machine by clicking on the menu to your left and selecting “Calibration.”
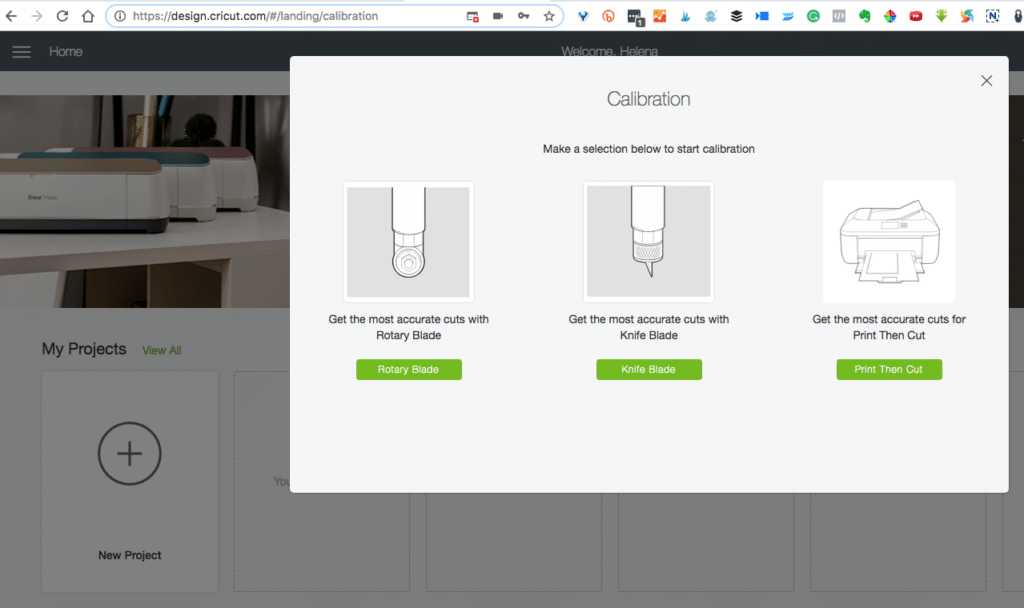
2. Calibrating Your Cricut Maker Machine
Again, a pretty straightforward step and all you have to do next is to click on the instrument you’ll use to create your vinyl labels will be the Knife Blade.
Creating Your First Project: Vinyl Home Organization Labels
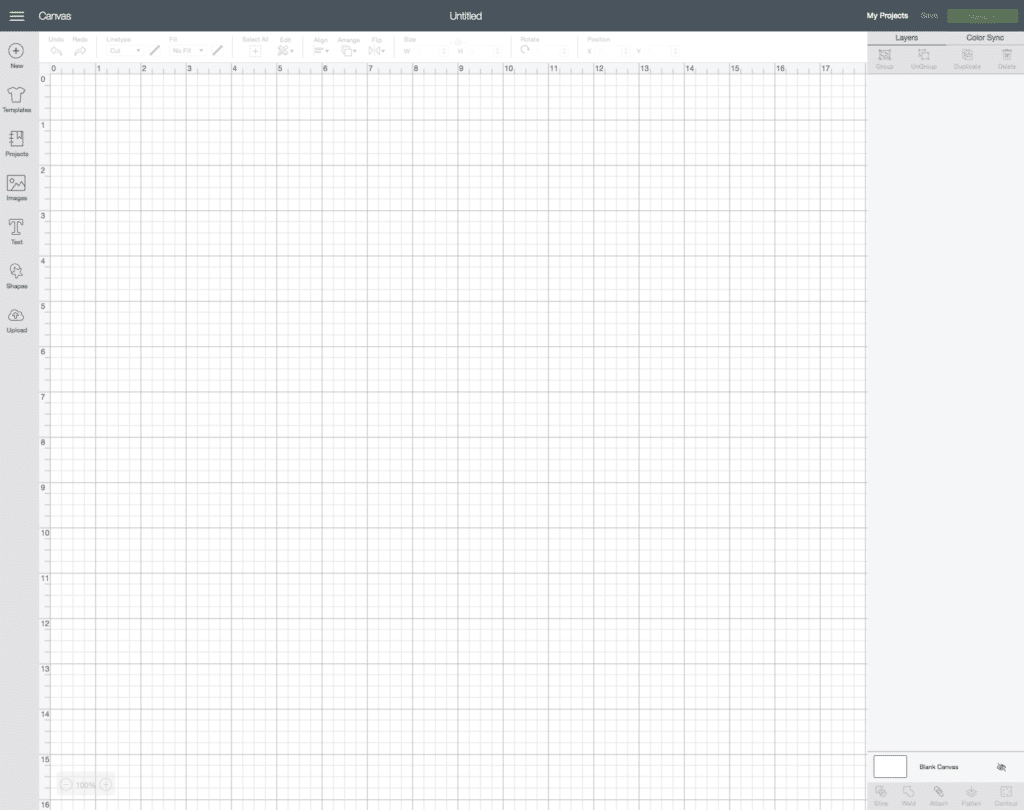
Once your machine is set up and connected, you have installed Design Space and created your account; you are ready to create your first project.
Click on the big plus sign, and a blank canvas will appear.
There are MANY amazing things you can do with the Cricut Maker, and I spent the longest time watching their tutorials and seeing the incredible things people are creating with this machine. Still, for today, we will learn how to make our adorable vinyl labels.
Next, click on the tool TEXT on the left side of the canvas and type the words you want to print in your labels.

This is the part where I (really!) struggled, and I want you to skip all the headaches and go straight to the finish line.
I’ll show you first what I did WRONG and then what to do.
Troubleshooting And Making Your Labels Print As One Word
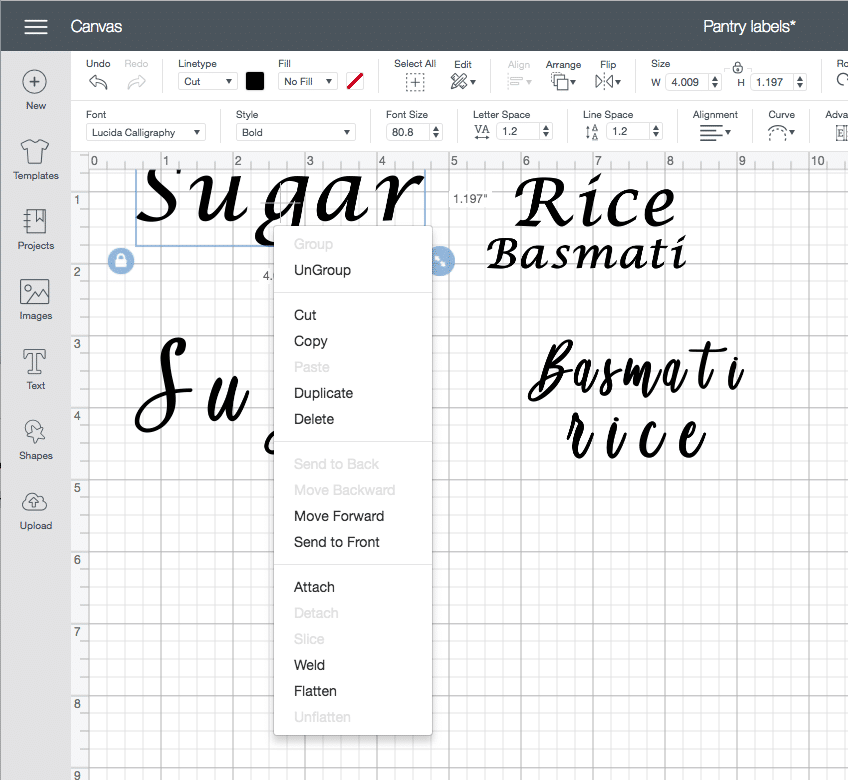
As you can see on the image above, all letters are separated, and I tried using the “letter-spacing” editing tool -that sits on the top bar and comes up when you click the words (see below)- to bring those letters together and have them connected in one single “word.”
That, however, did nothing to make this be a one-piece label.
Next, I tried using the “attach” tool, thinking this would “attach” all the letters to become the label I wanted. No luck!
So, I searched it, and this video from the Cricut tutorials came up. In this video and two others, she explains the difference between “grouping,” “attaching,” and then “welding,” but she still doesn’t show you how to get those letters together so you can then make them print as one word, in one scoop.
That’s where my patient and the persistent side comes in, and I start poking around until I figure it out.
I decided to right-click one of the words again and see what options I had in there. As you can see in the image above, the first option is to “UnGroup.”
That made me think, “If I only have one word here (sugar), so why am I being given the option to “ungroup”?” Bingo!
By clicking “UnGroup,” each letter becomes its element, and I was then able to move them together, connecting them.
I made this video for you so you can see how this goes. Once you figure it out, it’s swift and easy!
Printing Your Vinyl Labels
Now that we figured out how to create our labels and have them come out as one word (instead of every letter of the word separately) let’s print them.
I found this to be a beautiful part of Design Space as you have a print preview of your work and how it will show on your mat.
Click on “Make It” on the top right corner of your working space, and the following screen will come up.
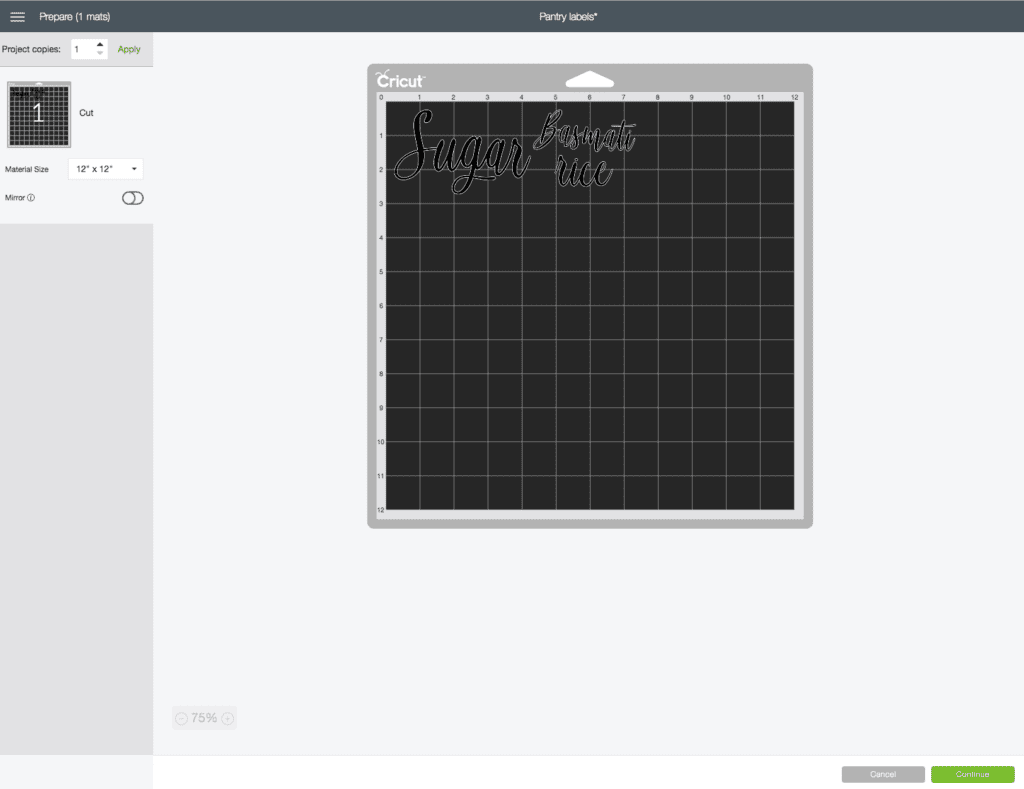
Next, click the “Continue” green button.
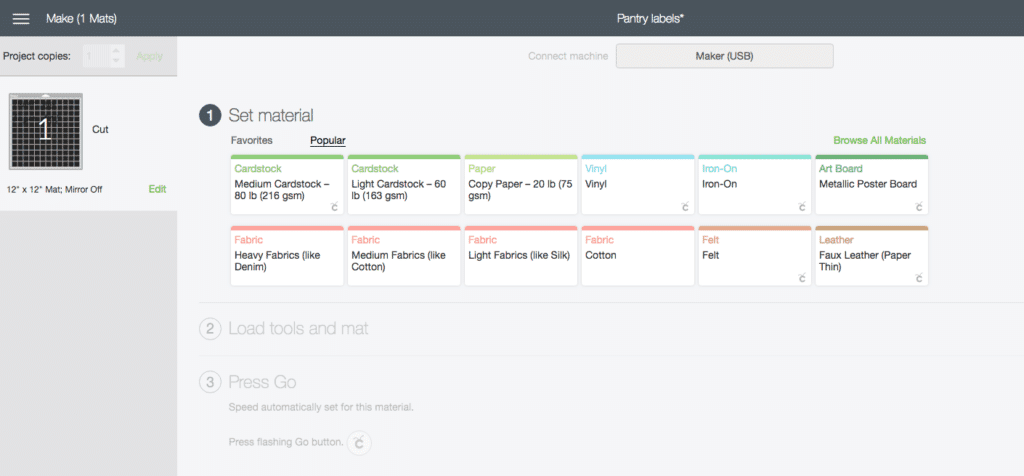
A screen with all the materials options will appear, and you will select Vinyl for this project.
With your material set to Vinyl, load your mat with the Vinyl attached to it and follow the instructions on the screen by pushing the buttons on your machine as they blink.
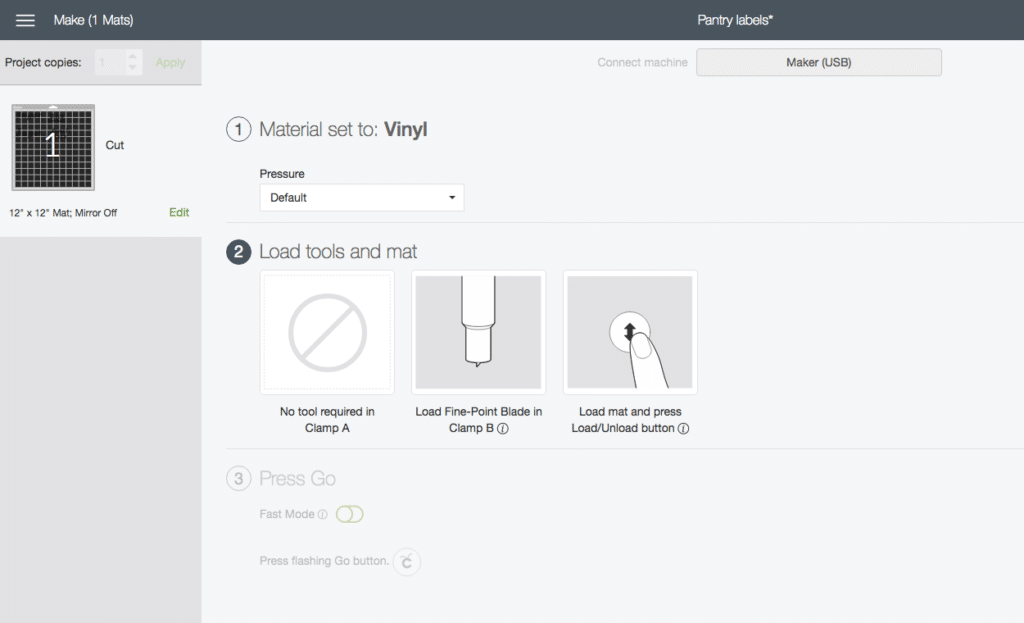
Your Cricut Maker will do its magic and print your labels on your mat exactly where you positioned your work on the “virtual” mat on your screen. It’s awesome!
Removing The Vinyl Labels From The Mat And Applying Them
Remember I told you I’m not a DIY kind of person? Well, here is where you’d see I am not handy.
It was not a simple process for me to remove the labels from the mat and then apply them to the containers, but I’m determined to figure out a more straightforward approach.
Maybe using transfer tape will simplify things, so I’ll have to research some more and try again.
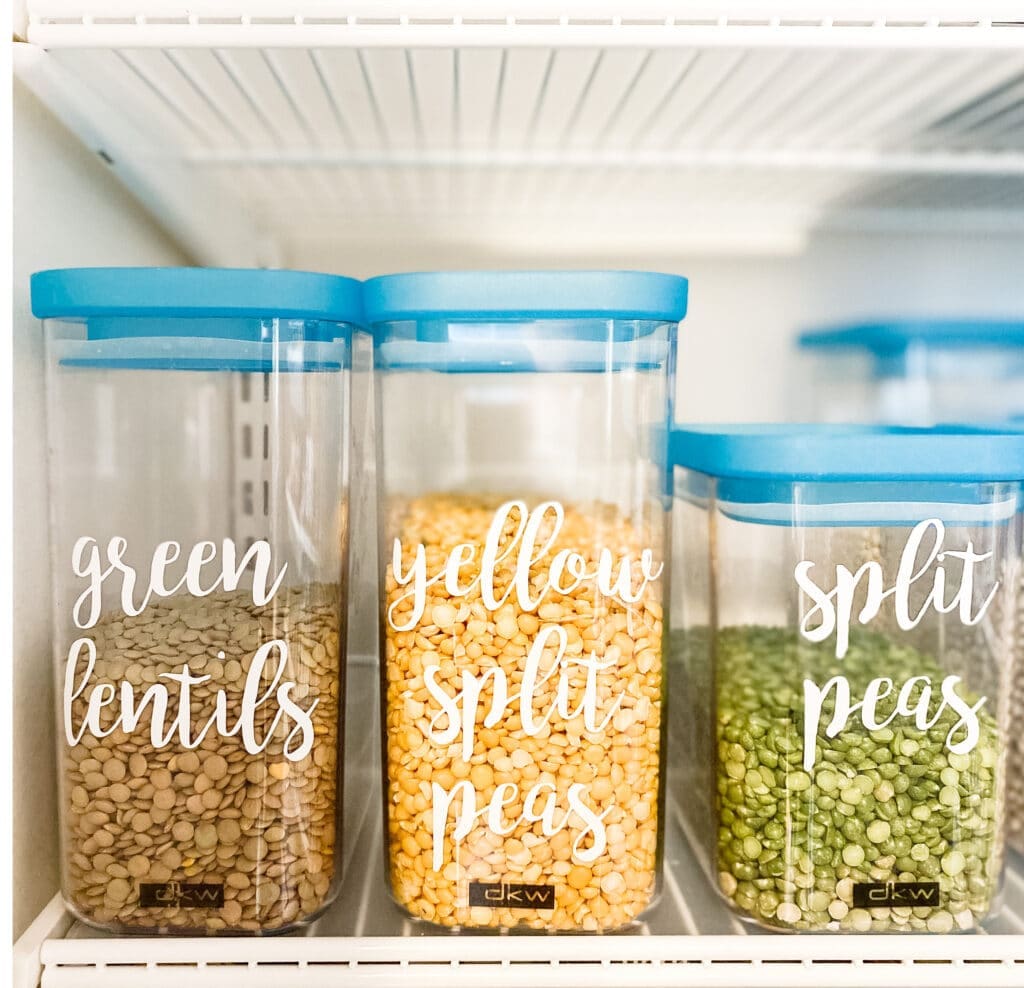
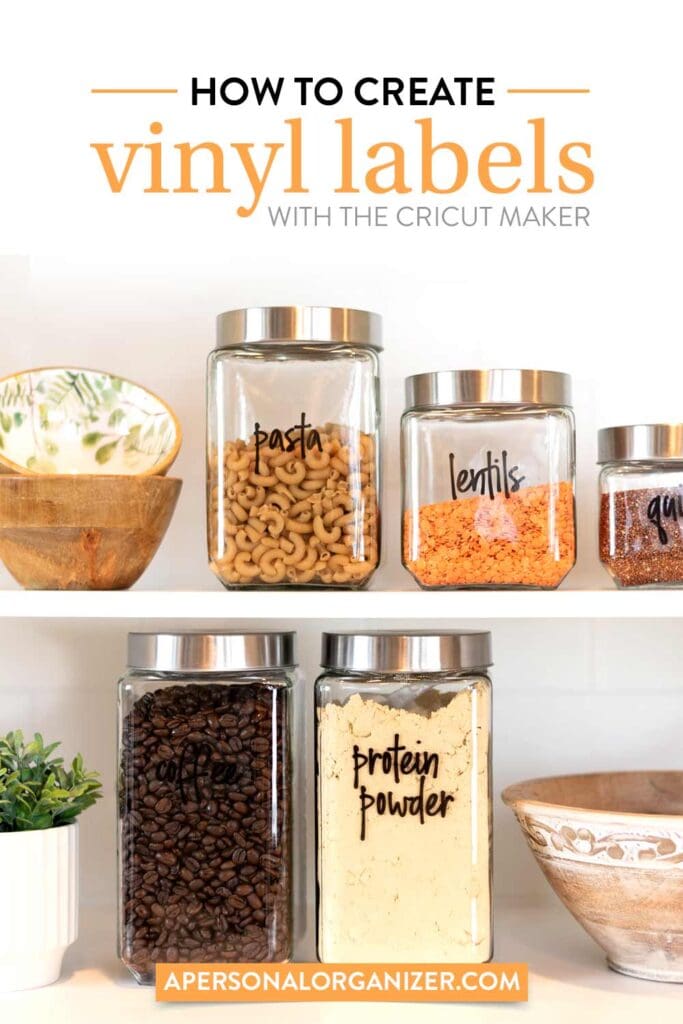
What matters is that the result is gorgeous, and I can’t wait to create all labels for every container in my house. I secretly wish winter was a little longer for this project! (not really! haha)
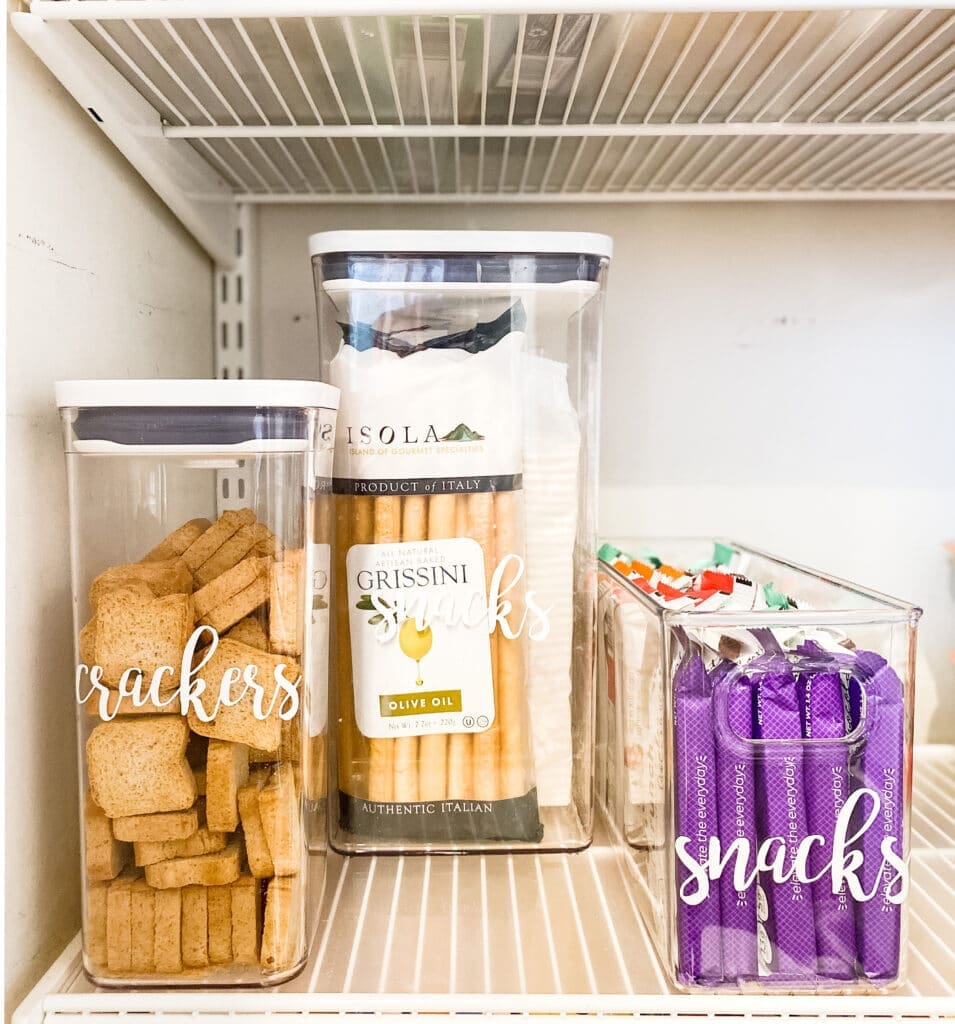
Conclusion And What Worked Using Cricut Label Maker
- I loved the result and look forward to create labels for many other containers and areas of my house.
- I would totally offer this as an add-on to organizing clients who value the aesthetics of it. Some of my clients wouldn’t care less but many would and it’s great to be able to make the labels for their projects.
- There are tons of Etsy shops selling these labels at a hefty price -considering you may need well over 50-100 labels when organizing a kitchen, garage or large closet, so I’m excited to be able to make them myself.
- I was able to get the labels in one full word and I’m pretty sure there’s an easier way of transferring them to the containers. As soon as I figure it out, I’ll get it up here for you.
Your turn! Would you like to have the vinyl labels for your home? Where would you use them?