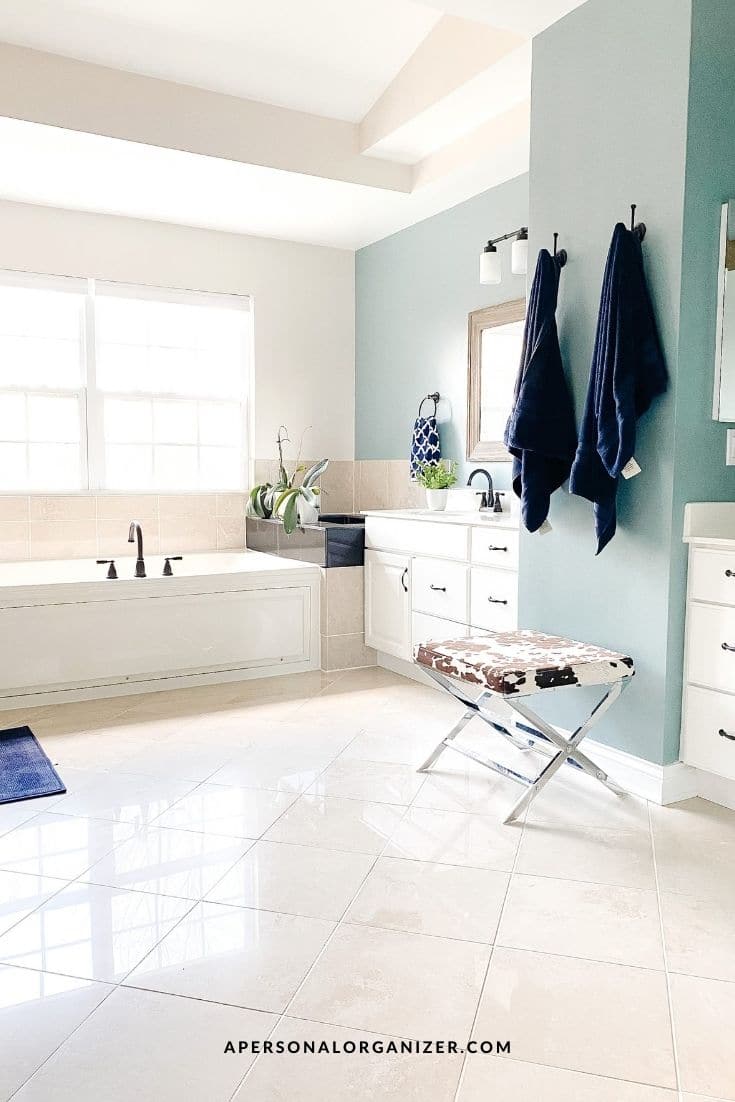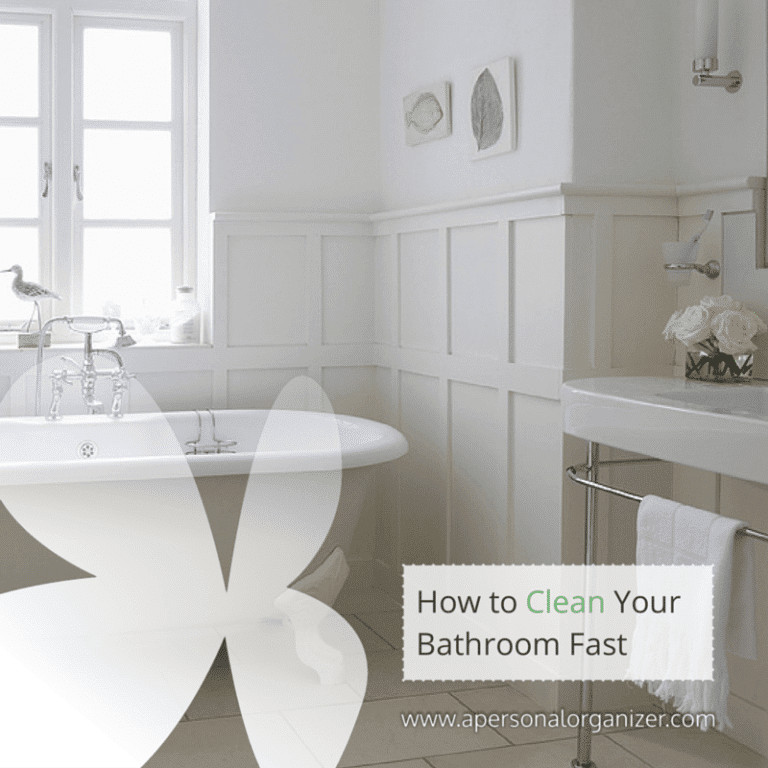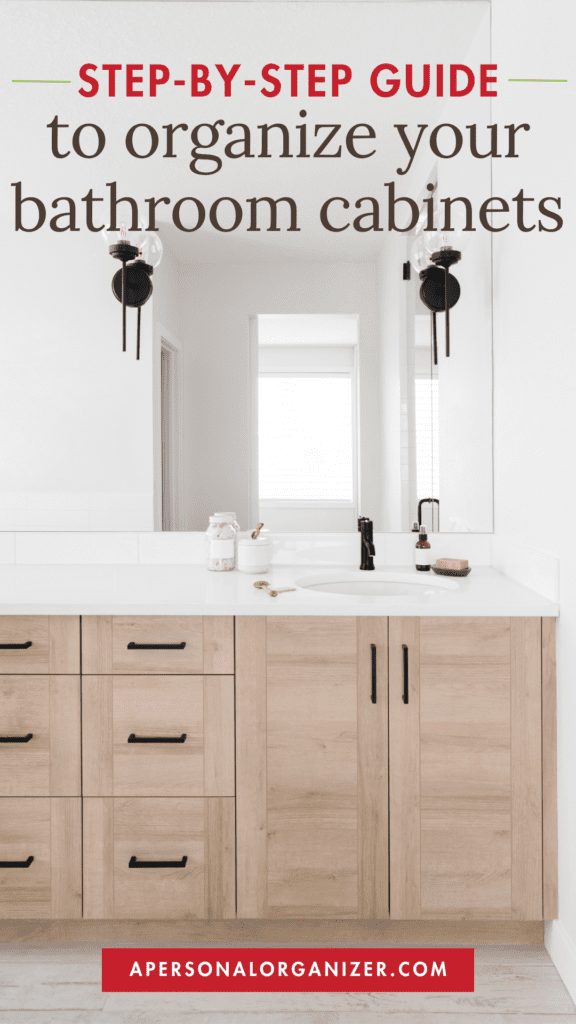
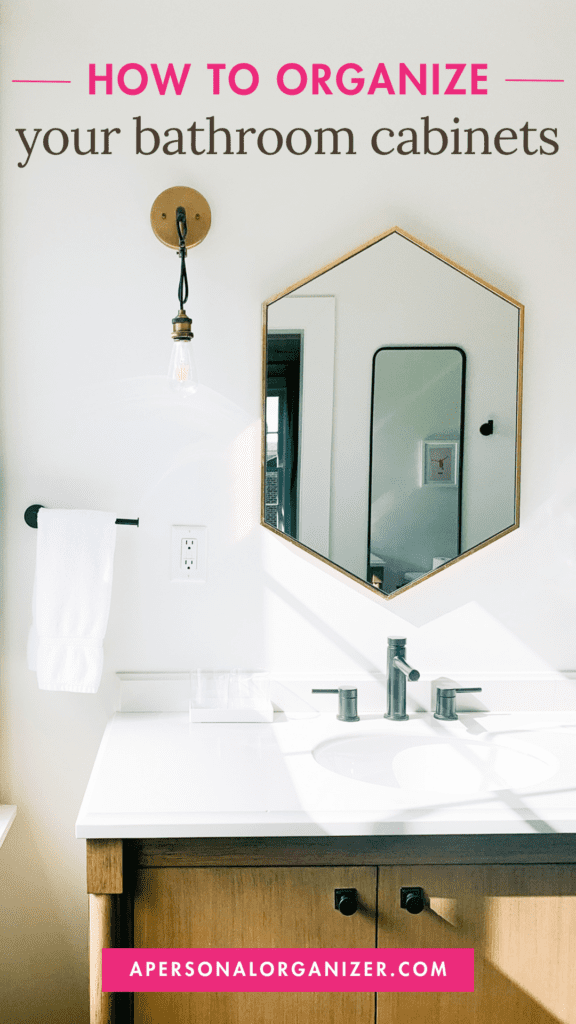
5 Steps to organize your bathroom cabinets and under-the-sink Bathroom cabinet
Is your bathroom cabinet a chaotic mess of half-empty bottles, expired products, and tangled cords? Don’t worry; you’re not alone! In this guide, we’ll walk you through the process of organizing your bathroom cabinets step by step.
Many people struggle to keep their bathroom cabinets organized, but with a few simple tips and tricks, you can transform your cluttered cabinet into a tidy and functional space.
Whether you’re dealing with a small cabinet in a shared bathroom or a spacious vanity in your master bath, these tips will help you make the most of your storage space and streamline your morning routine.
Step 1: Declutter
Decluttering your bathroom cabinet can be daunting, especially when faced with the challenge of letting go of items you’ve spent money on or believe you might use someday. But fear not! With a few simple strategies, you can tackle decluttering like a pro and create a more organized space that truly serves your needs.
Tip 1: Set Clear Goals
Before diving into decluttering, take a moment to set clear goals for what you want to achieve. Are you looking to minimize clutter, streamline your morning routine, or create more space for essentials? Having a clear vision of your end goal will help guide your decluttering decisions and keep you focused throughout the process.
Tip 2: Start Small
Decluttering an entire bathroom cabinet can feel overwhelming, so start small by tackling one shelf or section at a time. Breaking the task into smaller, more manageable chunks will make it feel less daunting and help you stay motivated as you progress.
Tip 3: Use the Three-Box Method
As you declutter, use the three-box method to categorize items into three groups: keep, donate/sell, and toss. Ask yourself if you truly need or use each item, and be honest with yourself about whether it serves a purpose in your daily life. If you haven’t used it in the past six months to a year, it’s probably time to let it go.
Tip 4: Be Ruthless (But Mindful)
When decluttering, it’s important to be ruthless in your decision-making but also mindful of your attachment to certain items. Remember that letting go of things doesn’t diminish their value or the memories associated with them. If you’re struggling to part with something, ask yourself if it aligns with your current lifestyle and if holding onto it brings you joy or serves a practical purpose.
Tip 5: Consider the KonMari Method
If you struggle with letting go of items, consider applying the KonMari Method, popularized by Marie Kondo. Her method encourages you to keep only items that “spark joy” and thank them for their service before letting them go. By focusing on what truly brings you happiness and serves a purpose in your life, you can create a more intentional and clutter-free space.
Tip 6: Donate or Recycle Unwanted Items
Instead of throwing away items that are still in good condition, consider donating them to charity or recycling them if possible. Not only does this reduce waste, but it also gives unwanted items a second chance to bring joy to someone else’s life.
Tip 7: Celebrate Your Progress
Finally, don’t forget to celebrate your progress as you declutter! Whether you’ve cleared out an entire shelf or pared down your skincare collection, every small victory brings you one step closer to your goal of a more organized and functional bathroom cabinet.
Following these tips and strategies, you can overcome common decluttering obstacles and create a space that brings you peace and joy every time you open your bathroom cabinet.
Step 2: Clean and Assess
Once you’ve decluttered your cabinet, take the time to give it a good cleaning. Wipe down the shelves, walls, and doors to remove accumulated dust or grime. While you’re cleaning, note any damage or areas that need repair.
Now, it’s time to assess your storage needs and determine the best way to organize your remaining items. Paying attention to key factors such as height, volume, and frequency of use will help you optimize your storage space and create a system that works for you.
Tip 1: Consider Height and Accessibility
When organizing your bathroom cabinet, take into account the height of your shelves and the accessibility of items.
Store frequently used items within easy reach, placing them on lower shelves or in drawers where they’re easily accessible. Less frequently used items can be stored on higher shelves or less accessible areas to free up prime real estate for everyday essentials.
Tip 2: Evaluate Volume and Storage Containers
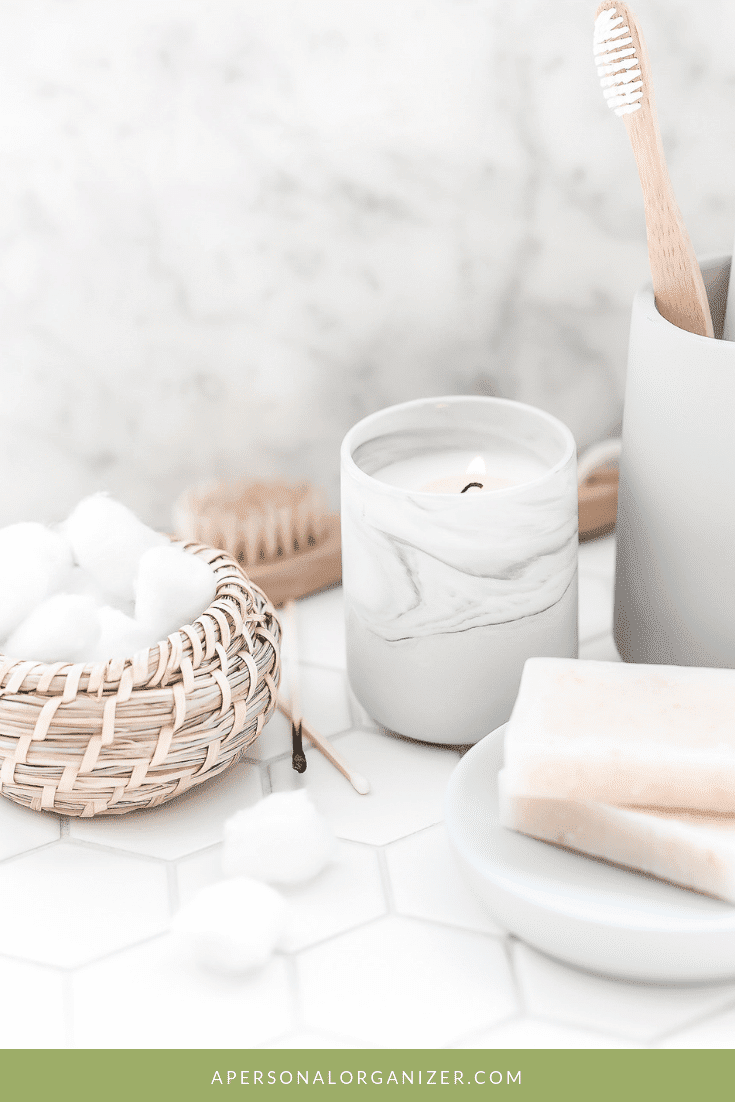
Assess the volume of your items and choose appropriate storage containers to accommodate them. For smaller items like cotton balls, Q-tips, and hair ties, opt for small bins or jars that can be easily tucked away on shelves or in drawers.
Larger items, such as shampoo, conditioner, and lotion bottles, may require larger bins or baskets to keep them organized and accessible.
Tip 3: Prioritize Frequently Used Items
Take note of which items you use most frequently and prioritize them in your organization system.
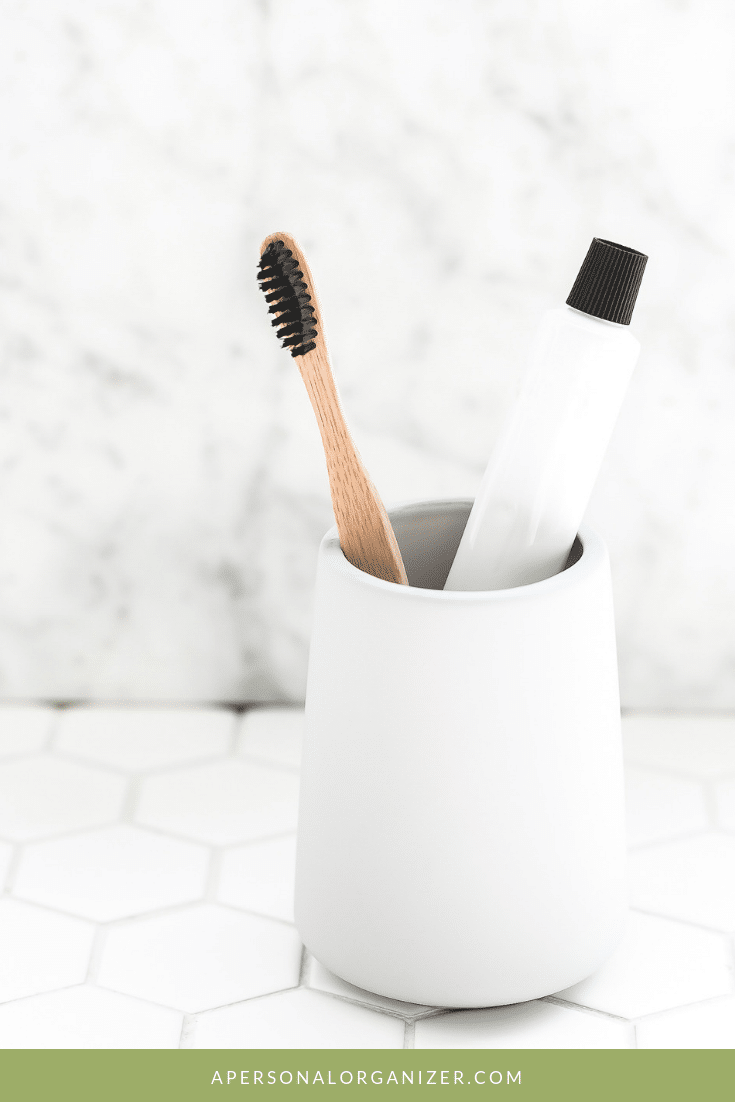
Keep everyday essentials like toothpaste, toothbrushes, and face wash front and center for easy access while relegating less frequently used items to secondary storage areas.
This will streamline your morning routine and ensure you can quickly find what you need when needed.
Tip 4: Group Similar Items Together
Group similar items together to create a more cohesive and organized space.
Store toiletries, skincare products, hair care products, and other items in designated areas to make it easier to find what you need.
Consider using drawer dividers or separate bins to keep categories of items separated and prevent them from getting jumbled together.
Tip 5: Maximize Vertical Space
Making the most of vertical space in your bathroom cabinet using stackable shelves, risers, or tiered organizers is a secret weapon in every organizing project we tend to overlook.
These storage solutions allow you to take advantage of unused vertical space and create additional storage tiers for smaller items or products that would otherwise get lost in the shuffle.
STACKABLE STORAGE

Tip 6: Be Flexible and Adapt as Needed
Finally, be flexible and willing to adapt your organization system as needed. As your storage needs change over time, don’t be afraid to rearrange shelves, switch out storage containers, or try new organizational strategies. The key is to create a system that evolves with you and meets your changing needs.
By paying attention to height, volume, frequency of use, and other key factors when assessing your storage needs, you can create an organized and functional bathroom cabinet that makes your daily routine a breeze.
The latest on Youtube:
Step 3: Group Like Items Together
Next, group similar items together to create a more cohesive and organized space and to make them easier to find and access. Separate your toiletries, skincare products, hair care products, and other items into categories, and designate a specific area of your cabinet for each category.
Remember, everybody has a family, and every family has a home. By keeping like items together, you’re giving each item a “home” within your cabinet, making it easier to locate what you need when you need it.
While there are many categories, I’m sure there are products you use daily, and you can place them in a drawer, tray, or bin that you can easily access without having to open multiple drawers because they’re with their “family.” For example, your daily skincare routine items can have their designated tray or bin, making your morning routine smoother and more efficient.
Consider using drawer dividers or separate bins to keep categories of items separated and prevent them from getting jumbled together. This will help you keep similar items together and prevent them from getting lost or buried in the back of the cabinet.
TOOLS YOU’LL NEED
Step 4: Use Storage Solutions for Maximum Organization
Investing in the right storage solutions can be the difference between a cluttered mess and a beautifully organized bathroom cabinet. While I’ve emphasized the importance of decluttering and grouping like items together, utilizing storage solutions takes your organization to the next level.
Consider using bins, baskets, or drawer organizers to corral small items like hair accessories, makeup brushes, and travel-sized toiletries. These containers keep items neatly contained and make it easier to access what you need when you need it.
In addition to containers, stackable shelves or risers are excellent tools for maximizing vertical space and creating additional storage tiers. They allow you to see and access items stored in the back of the cabinet without rummaging through product layers.
STORAGE FOR HAIR CARE ITEMS
Opt for wall-mounted holders or over-the-door organizers for specialty items like hair dryers, curling irons, and brushes. These solutions keep these bulky items easily accessible without taking up valuable shelf space, ensuring that your cabinet remains tidy and functional.
TOOLS YOU’LL NEED
Incorporating these storage solutions into your organization system maximizes your cabinet space and maintains a clutter-free and visually appealing environment that makes your daily routine a breeze.
Step 5: Label Everything
Labeling is not just an extra step in the organization process—it’s crucial for maintaining an organized space in your bathroom cabinet. Clear and concise labels can help you and your family members quickly locate items, saving time and reducing frustration.
But what should you label, and how can you do it effectively? Let’s explore some examples and uses:
- Bins and Baskets: Label bins and baskets according to their contents, such as “Hair Accessories,” “Skincare,” “First Aid,” or “Travel Essentials.” This lets you quickly identify where specific items are stored without rummaging through each container.
- Containers: If you use opaque containers for items like Q-tips or cotton balls and opaque bottles for lotions and serums, labeling them ensures that everyone knows what’s inside. Consider labeling with both the item’s name and expiration date for skincare and medication products.
- Drawer Dividers: If you have drawer dividers separating different categories of items, label each section accordingly. For example, you might have sections for “Hair Care,” “Oral Care,” “Makeup,” and “Miscellaneous.” Clear labels make it easy to keep these sections organized and prevent items from getting mixed up.
- Shelves: If your bathroom cabinet has multiple shelves, consider labeling each shelf with the types of items it contains. For example, you might label one shelf “Everyday Essentials” for items used daily and another “Guest Supplies” for extra toiletries for visitors.
- Medication and Toiletry Cabinets: If you have a separate cabinet for medications or toiletries, labeling shelves or sections with specific categories like “Cold & Flu,” “Pain Relief,” “Dental Care,” or “Hair Care” can help you quickly find what you need during times of illness or when preparing for a trip.
TOOLS YOU’LL NEED
There are many label-making methods, depending on your preference and the aesthetic you want to give your space. A label maker provides a polished and uniform look, while handwritten labels with a permanent or chalk marker offer a personal touch. Alternatively, you can buy made for you labels and attach them to containers for a professional appearance.
By labeling everything in your bathroom cabinet, you create a system that will keep you organized in the short term and maintain order in the long run. Plus, it makes it easier for other family members or guests to find items when they need them, promoting a stress-free and efficient bathroom environment.
BATHROOM ORGANIZING LABELS
Step 6: Maintain It Regularly
Finally, make a commitment to maintaining your organized bathroom cabinet on a regular basis. Set aside a few minutes each week to tidy up and put things back in their designated places.
This will help prevent clutter from building up again and ensure your bathroom cabinet stays organized and functional for the long haul.
With these simple steps, you can transform your cluttered bathroom cabinet into a streamlined and functional space that makes your morning routine a breeze. Happy organizing!
SHOP THE POST